Tips

Living Green: Creating a Sustainable Kitchen Design

Living Green: Creating a Sustainable Kitchen Design 2560 1710 Chris & Dick's | an ILG Company

If you’re planning a kitchen remodel, you may be wondering how to achieve a sustainable kitchen design.

Fortunately, as people increasingly see the value in caring for our planet – such as creating a healthier environment, saving money on utilities, and just plain doing the right thing – incorporating sustainability into the home is becoming more prevalent, affordable and achievable. As a result, “green” principles are finding their way into every room of the house, including the kitchen.

And more good news: creating a sustainable kitchen doesn’t have to be stressful or difficult if you follow the fundamentals. The professional design team at Chris & Dick’s has years of experience in helping people renovate their kitchen in a way that is ecologically sound. Here are the main points they recommend as you embark on this process.

1. Choose sustainable products.

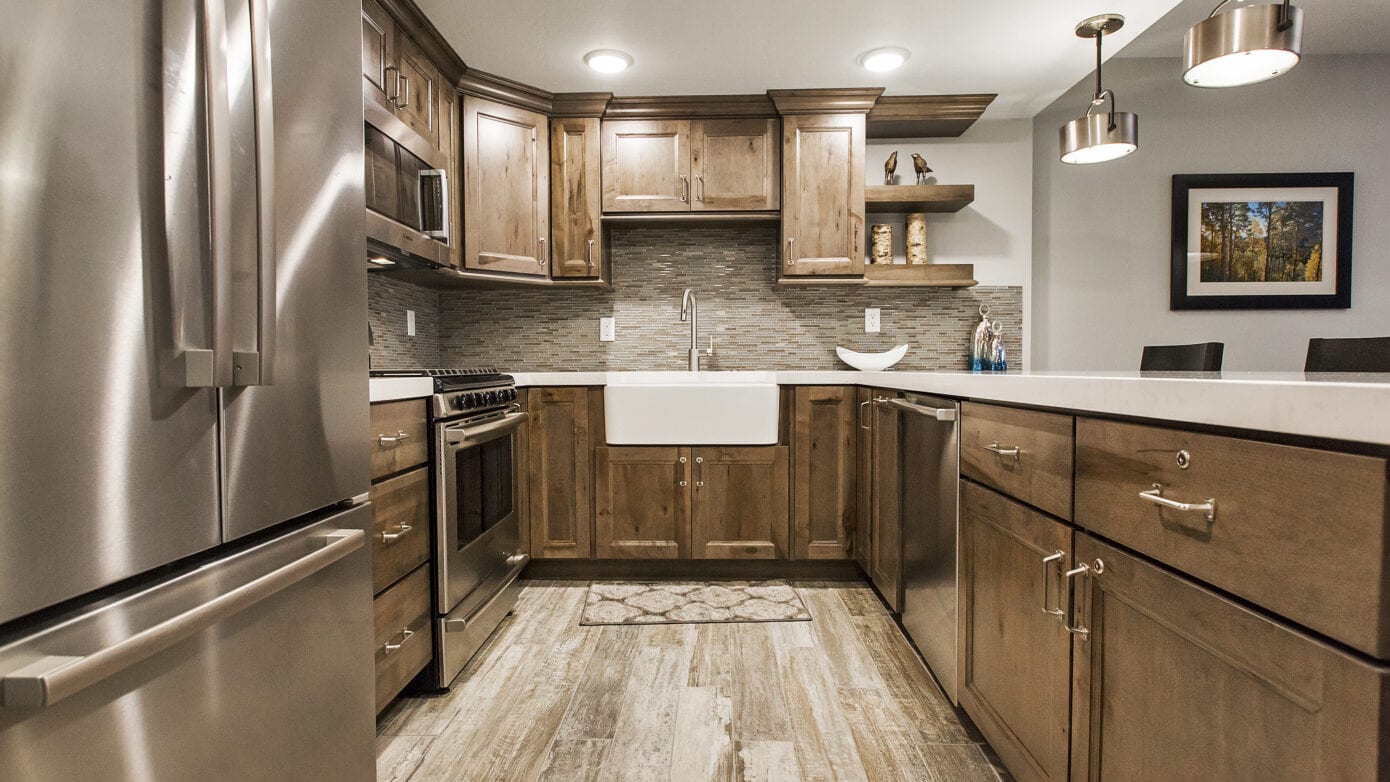
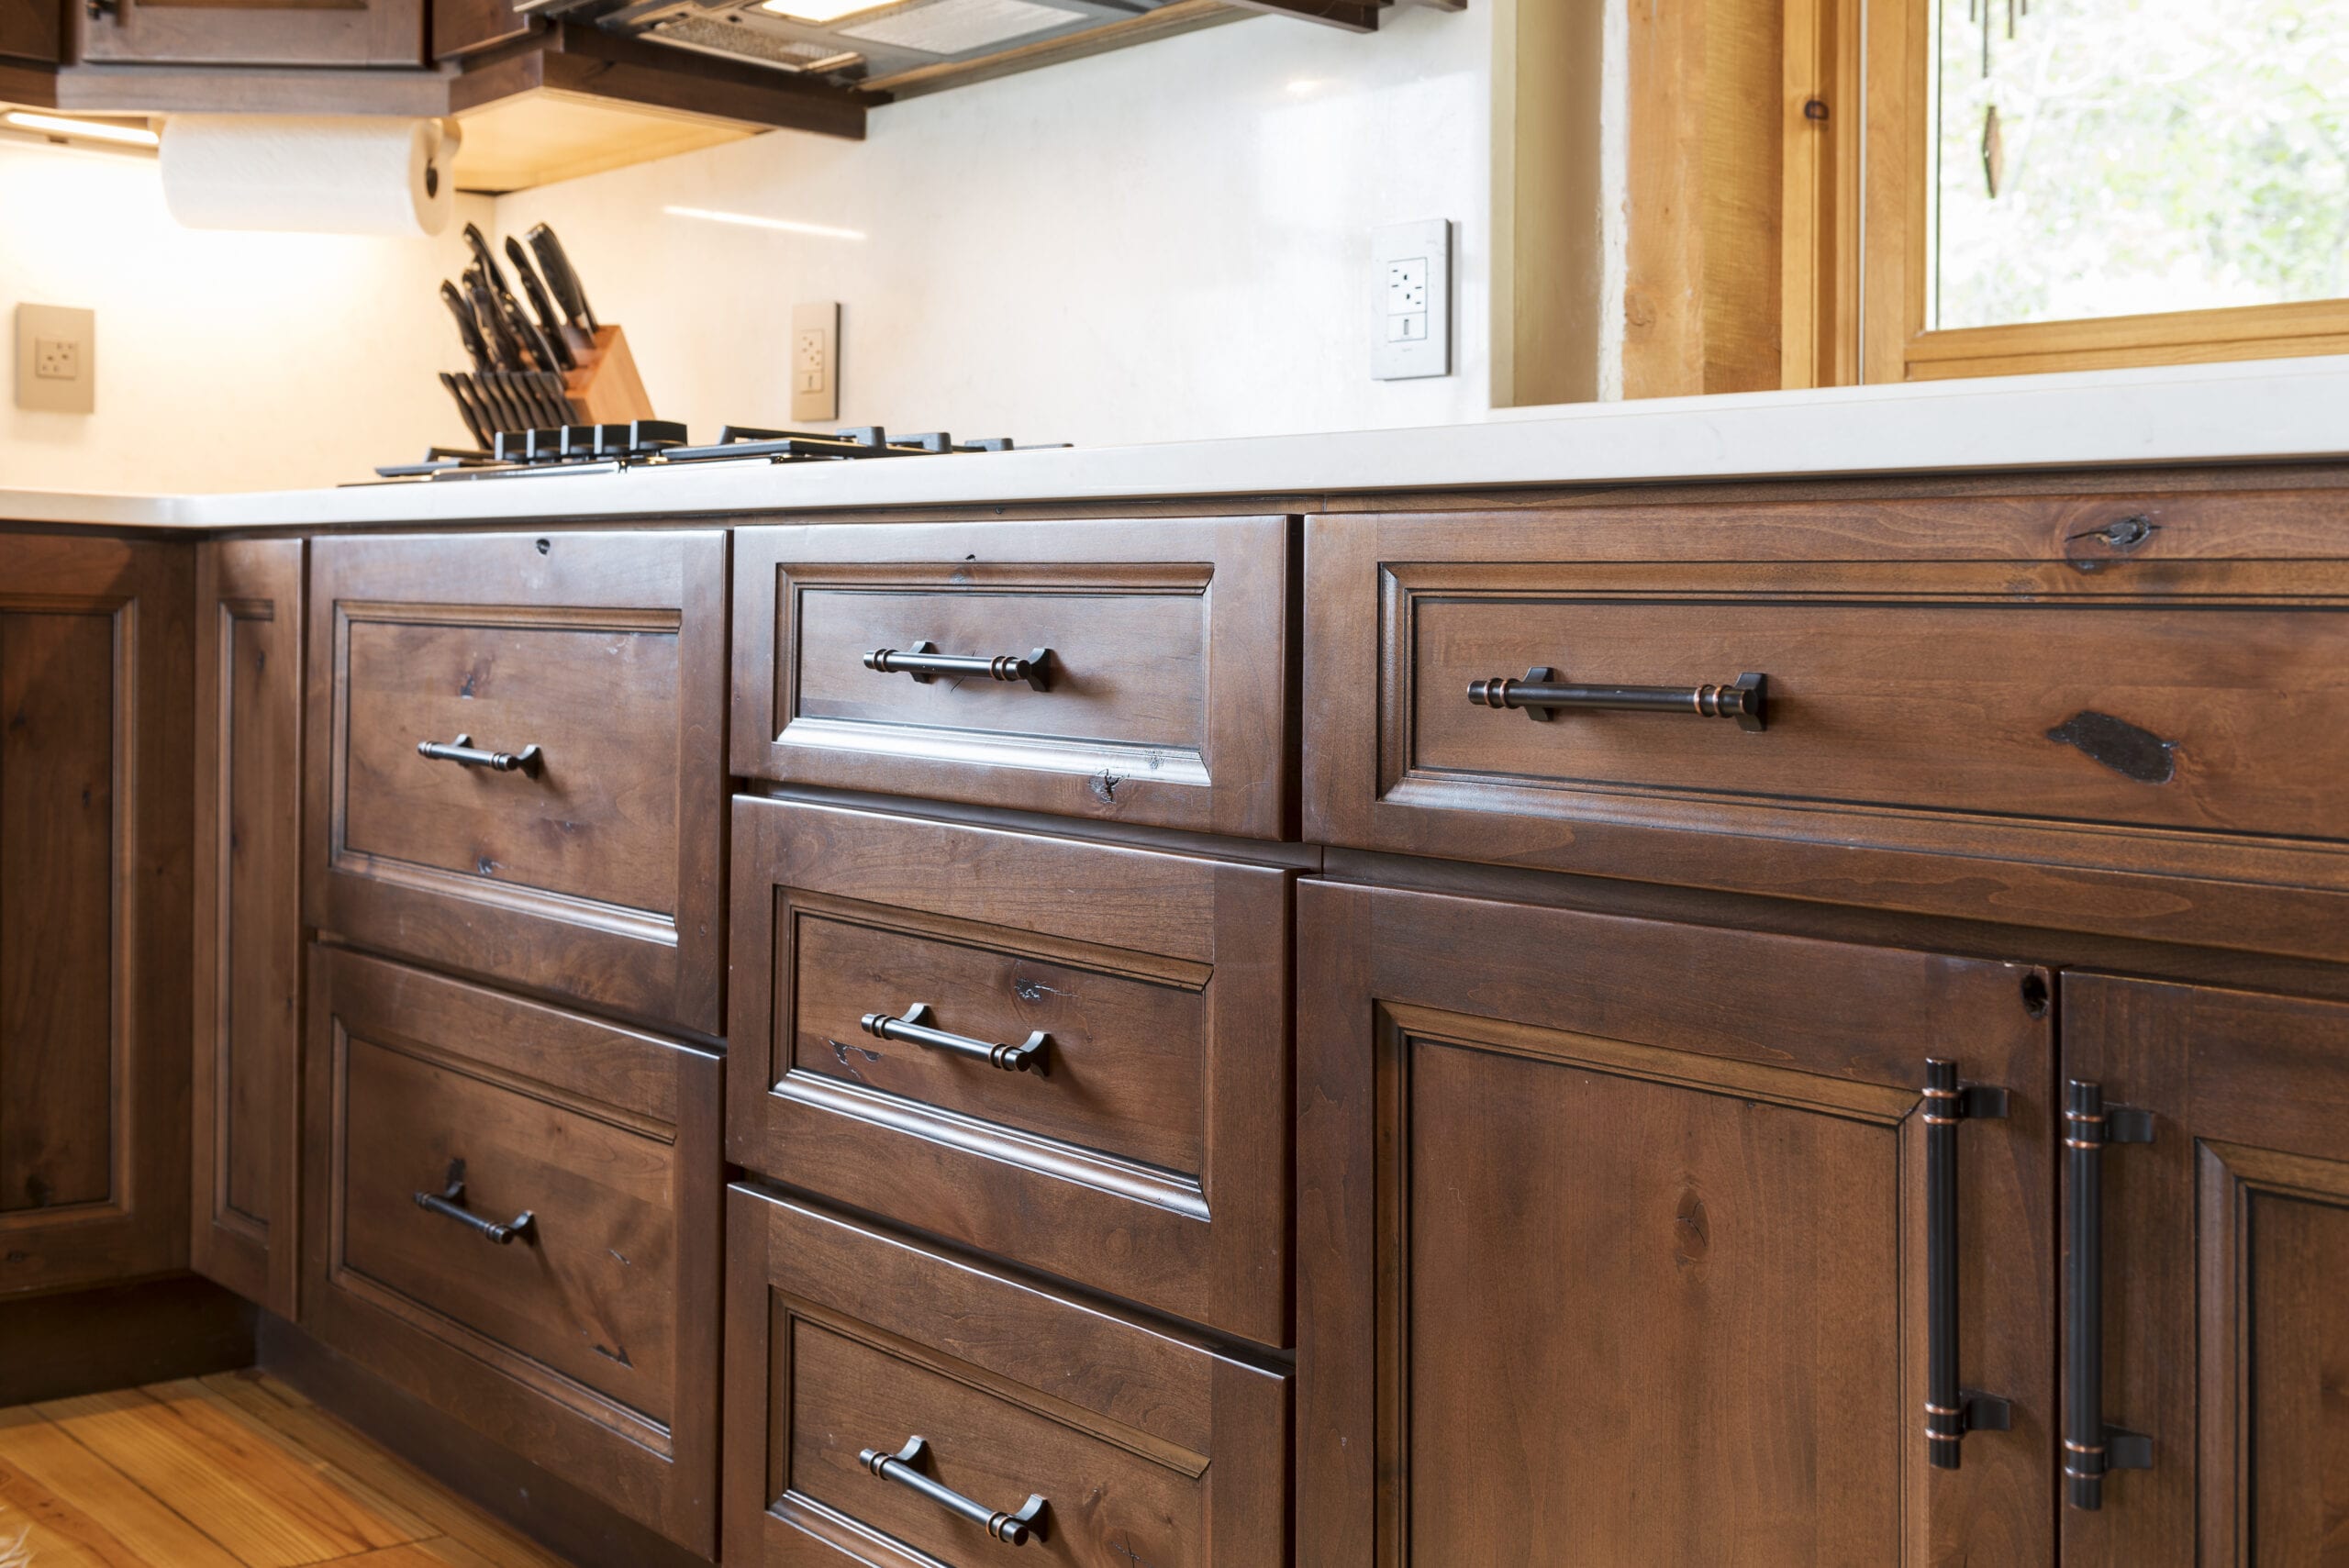
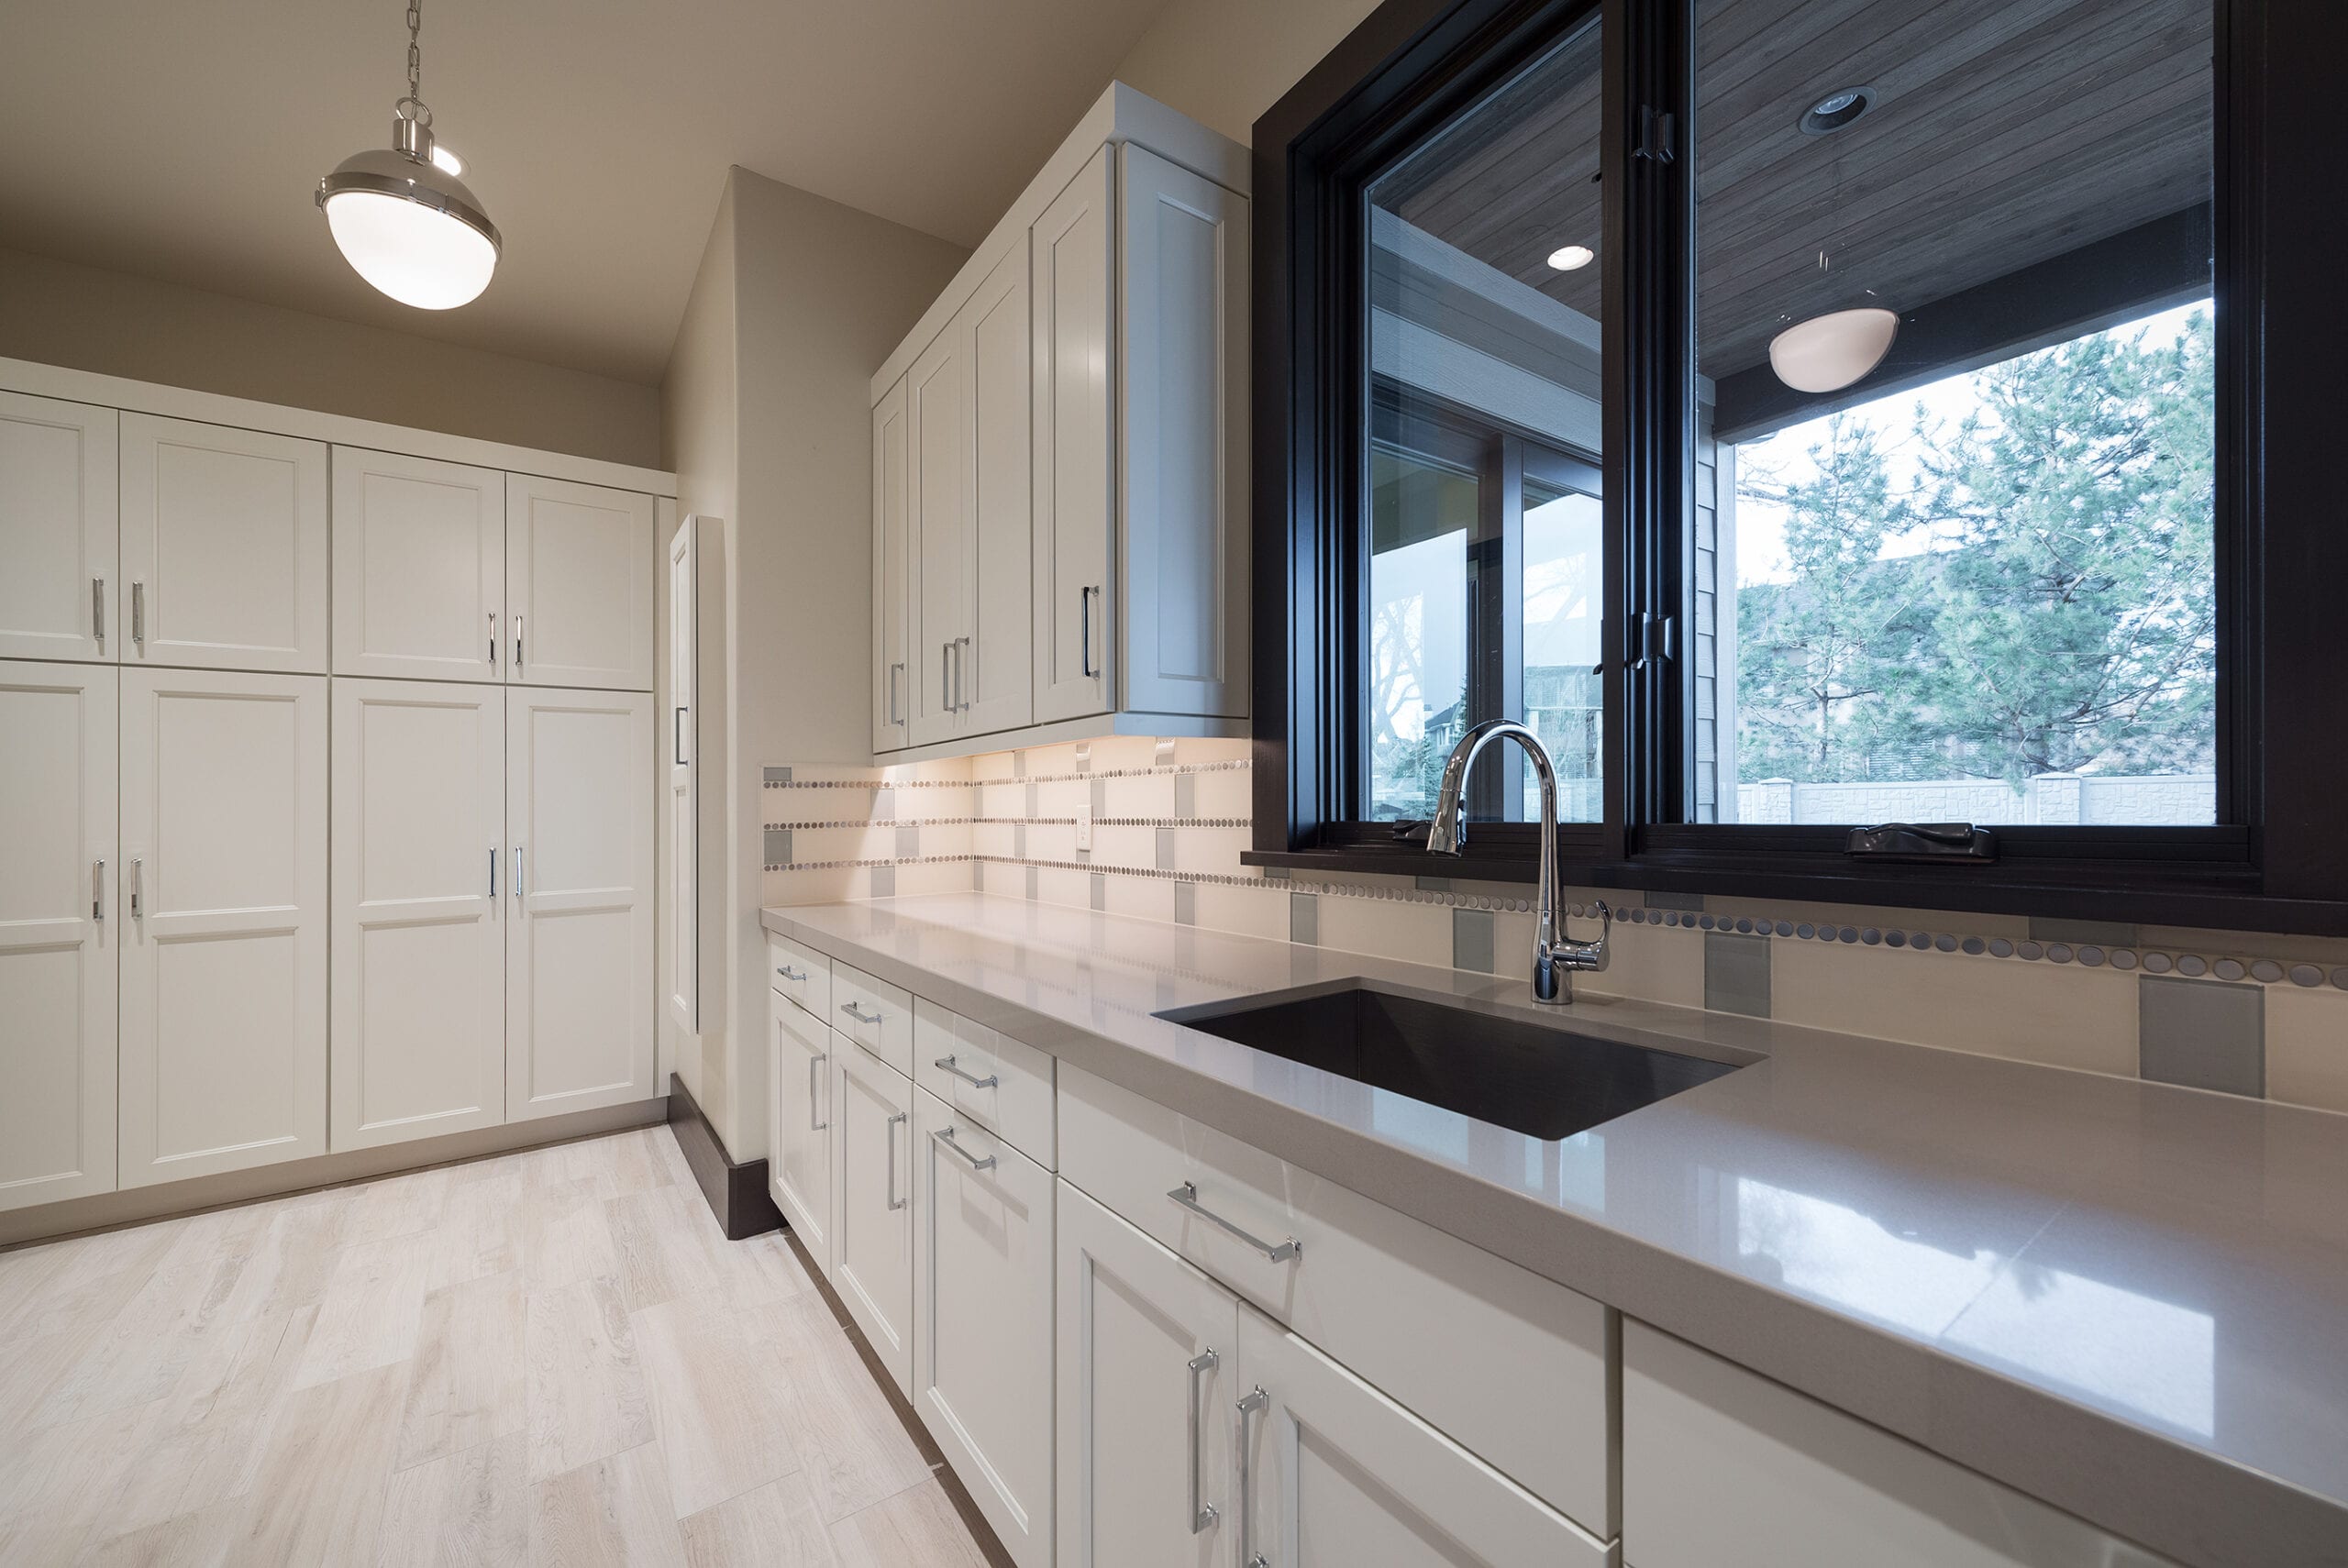
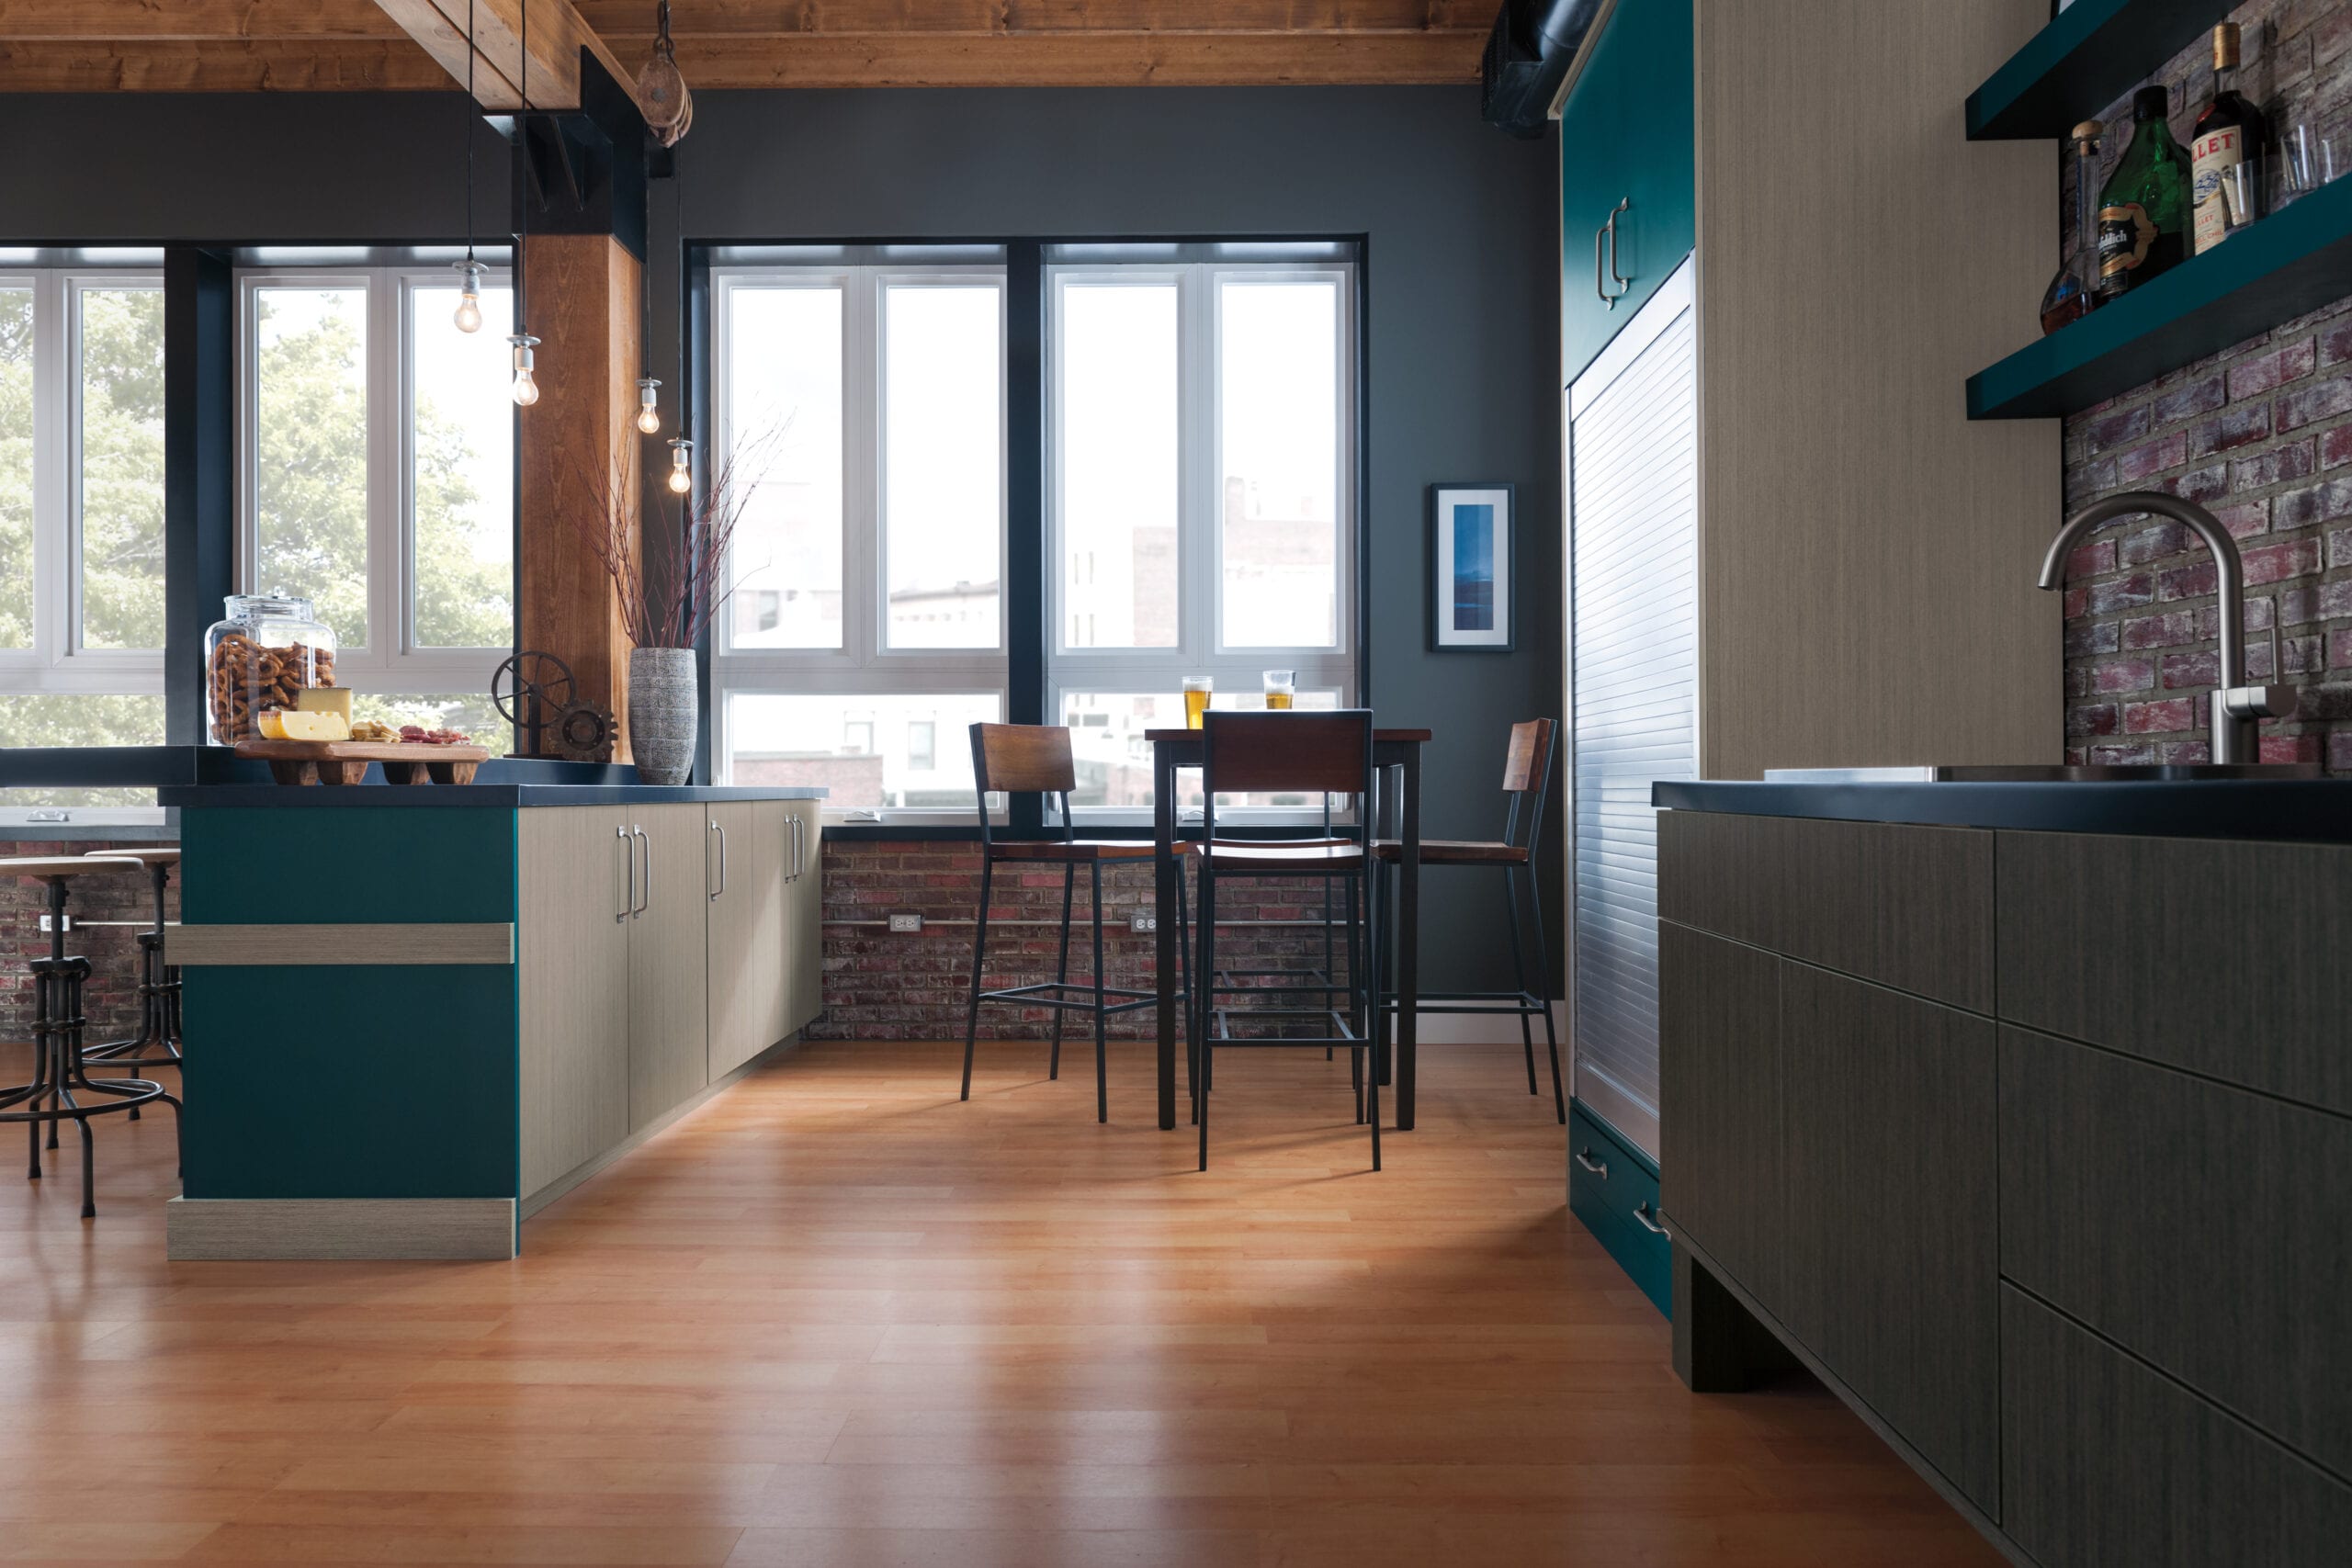
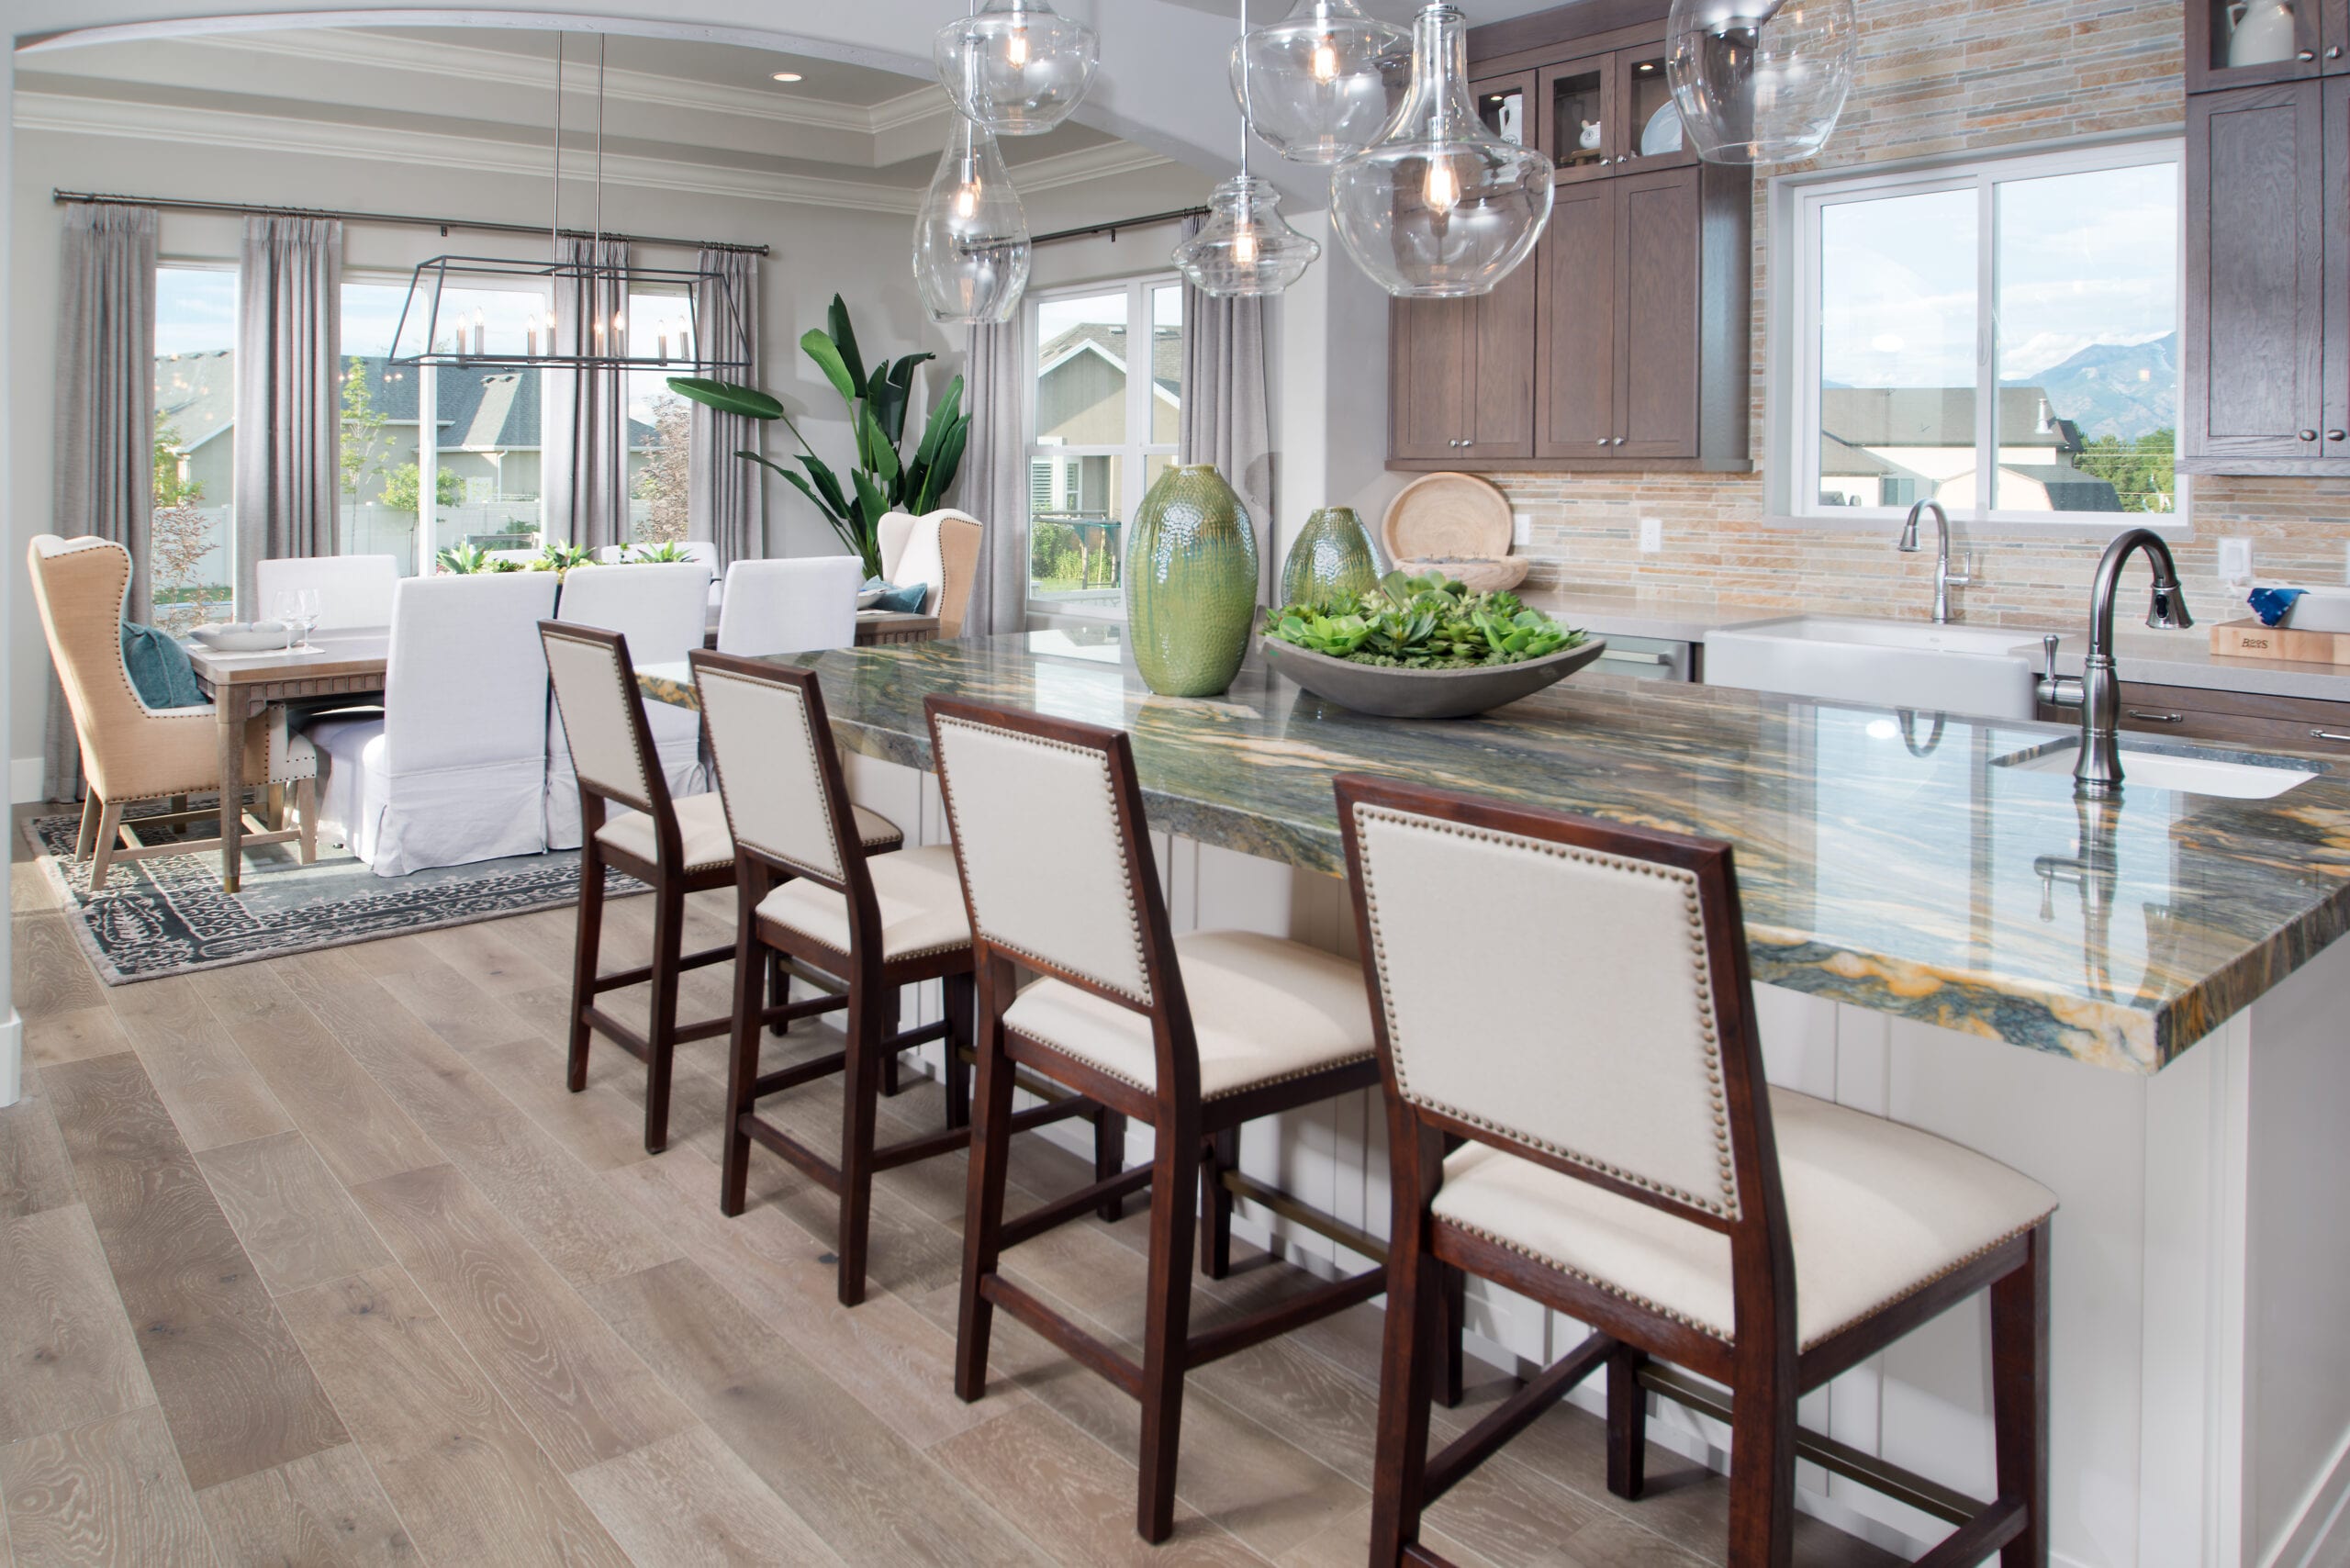
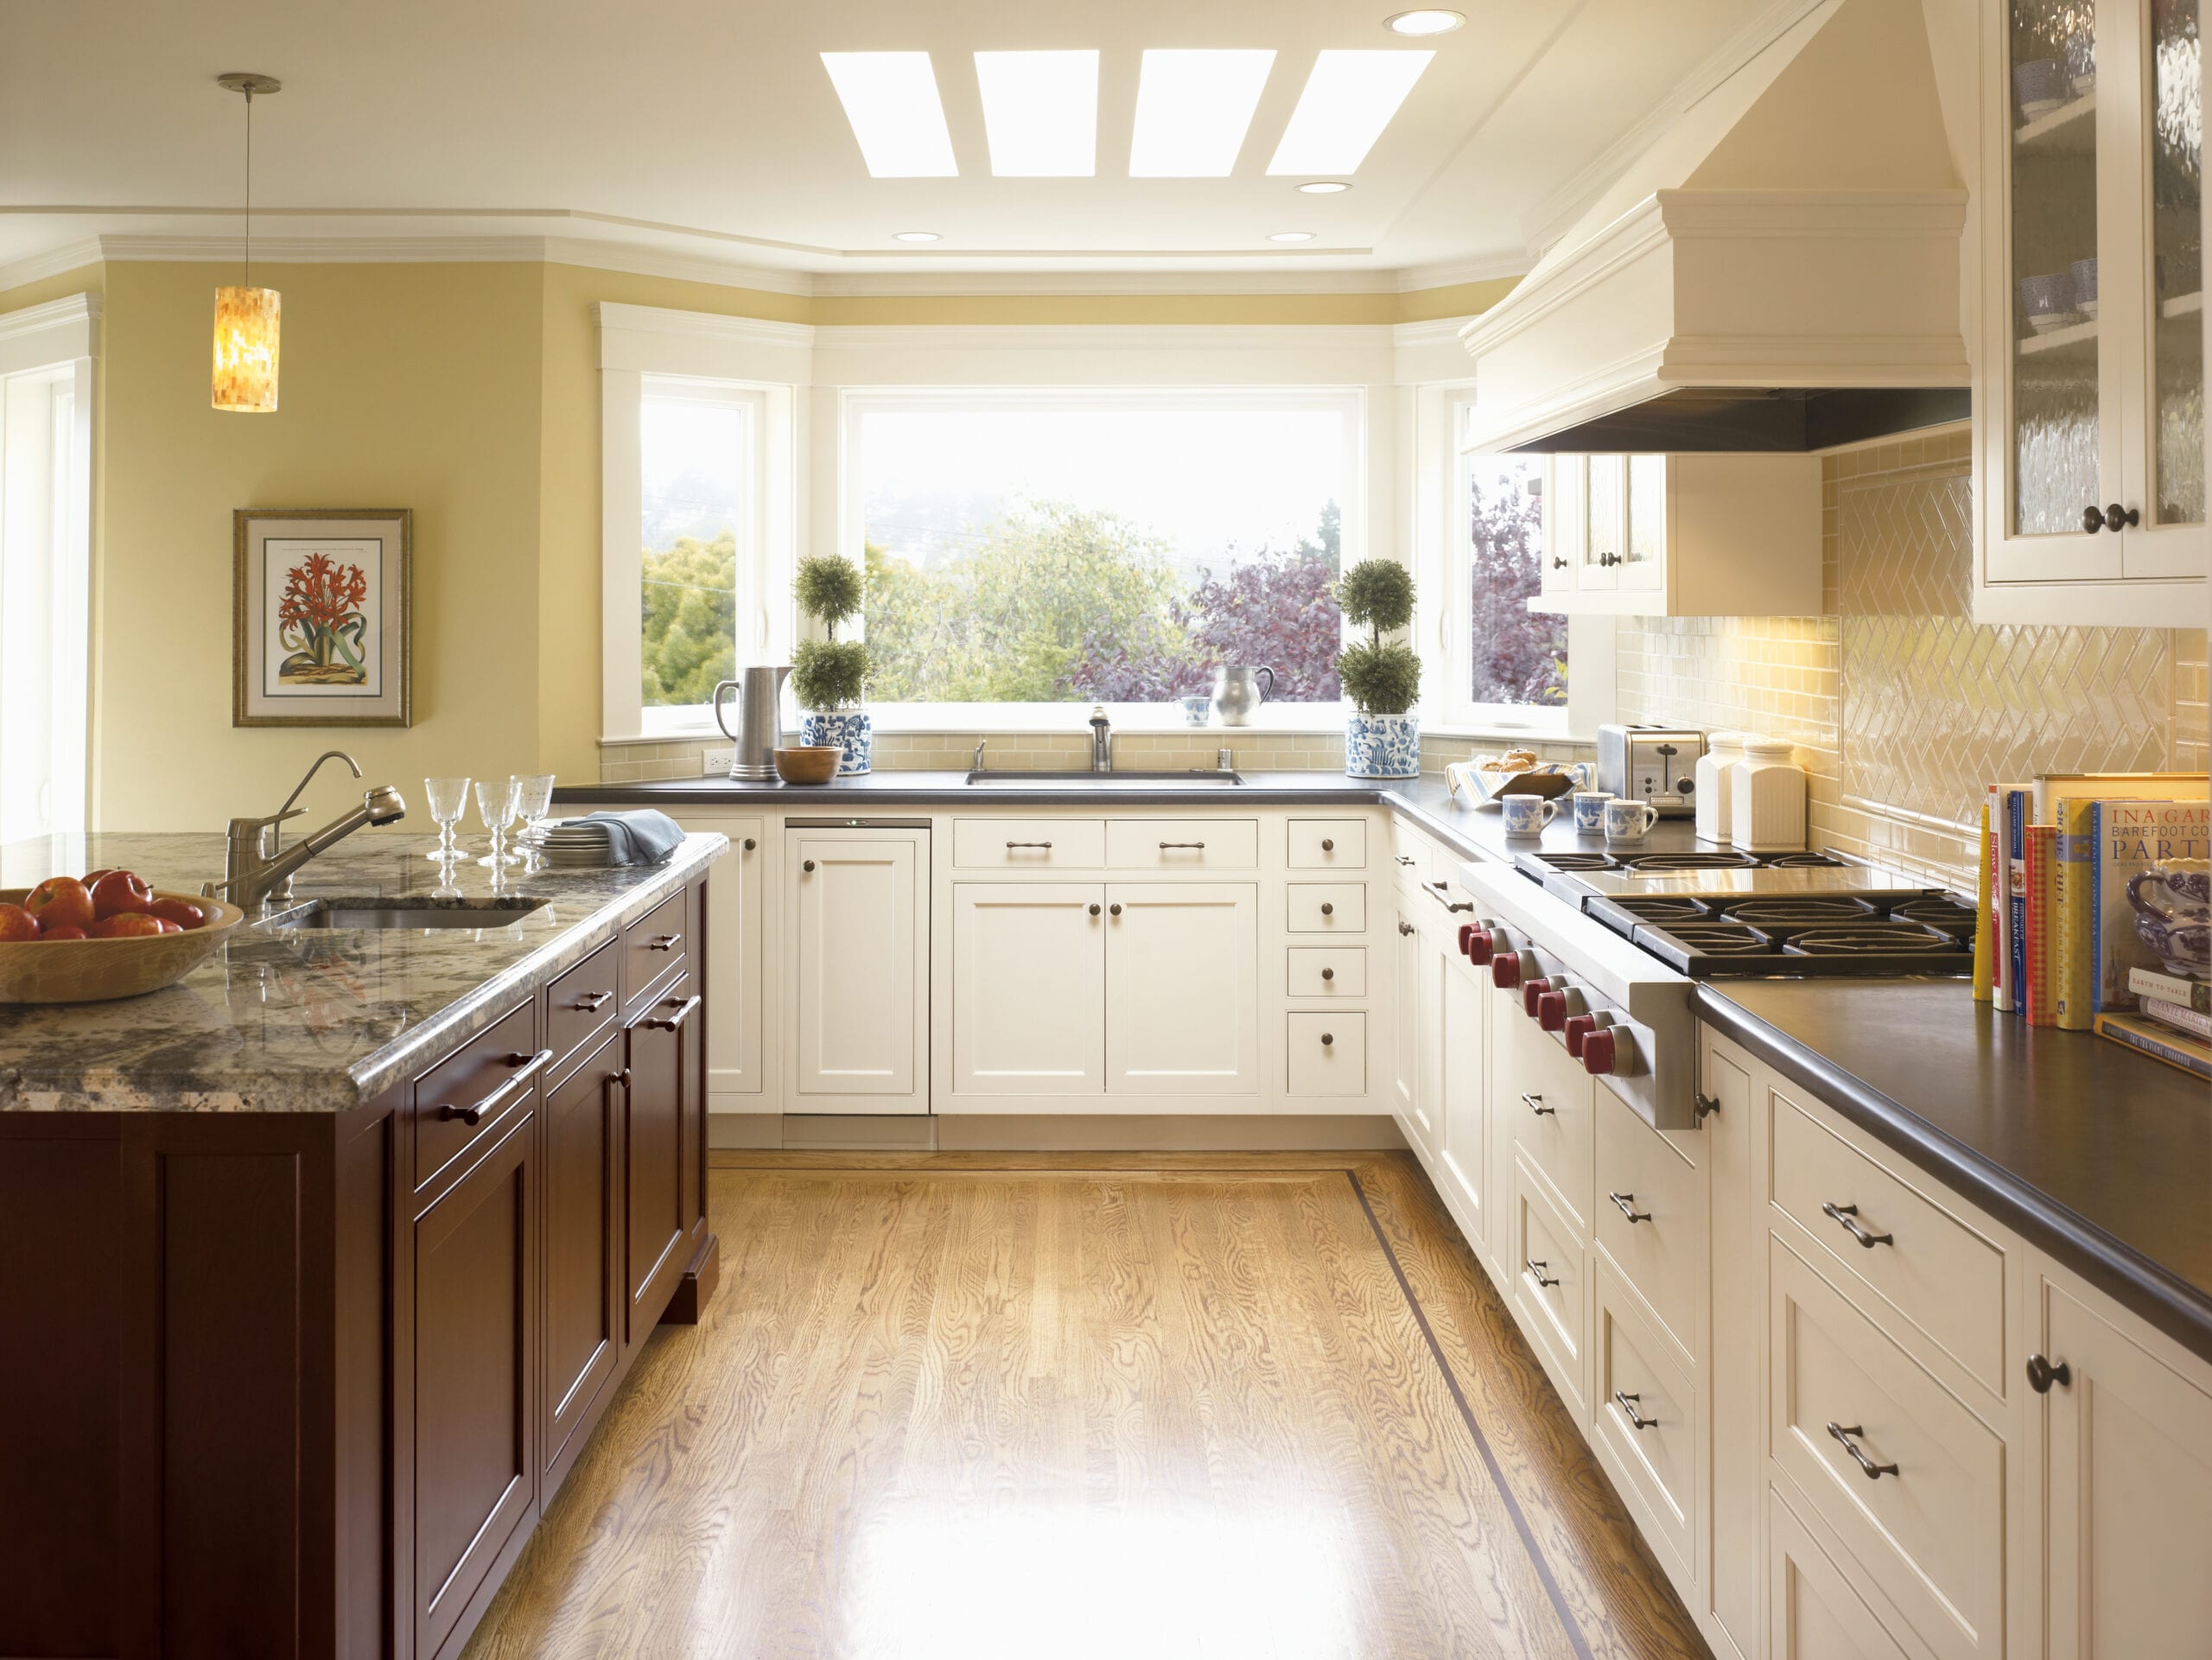
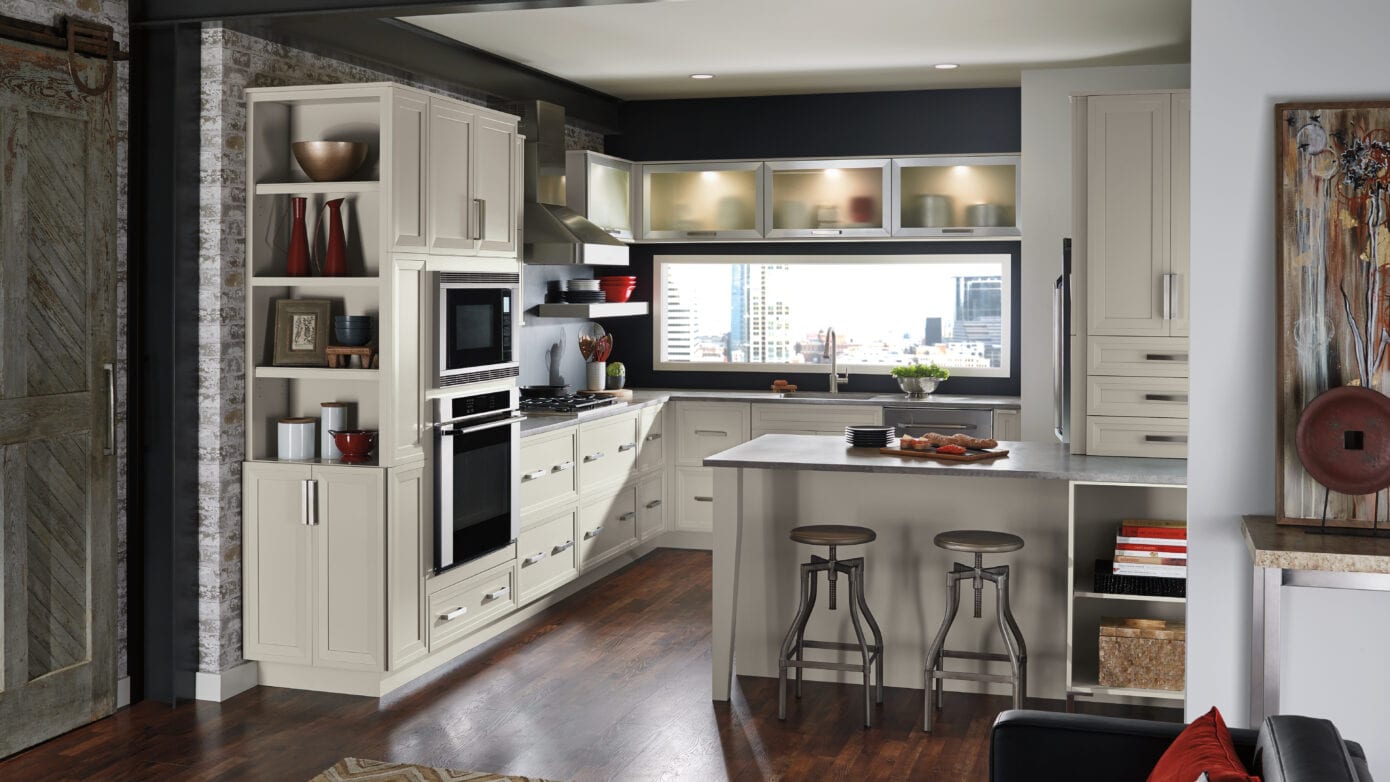
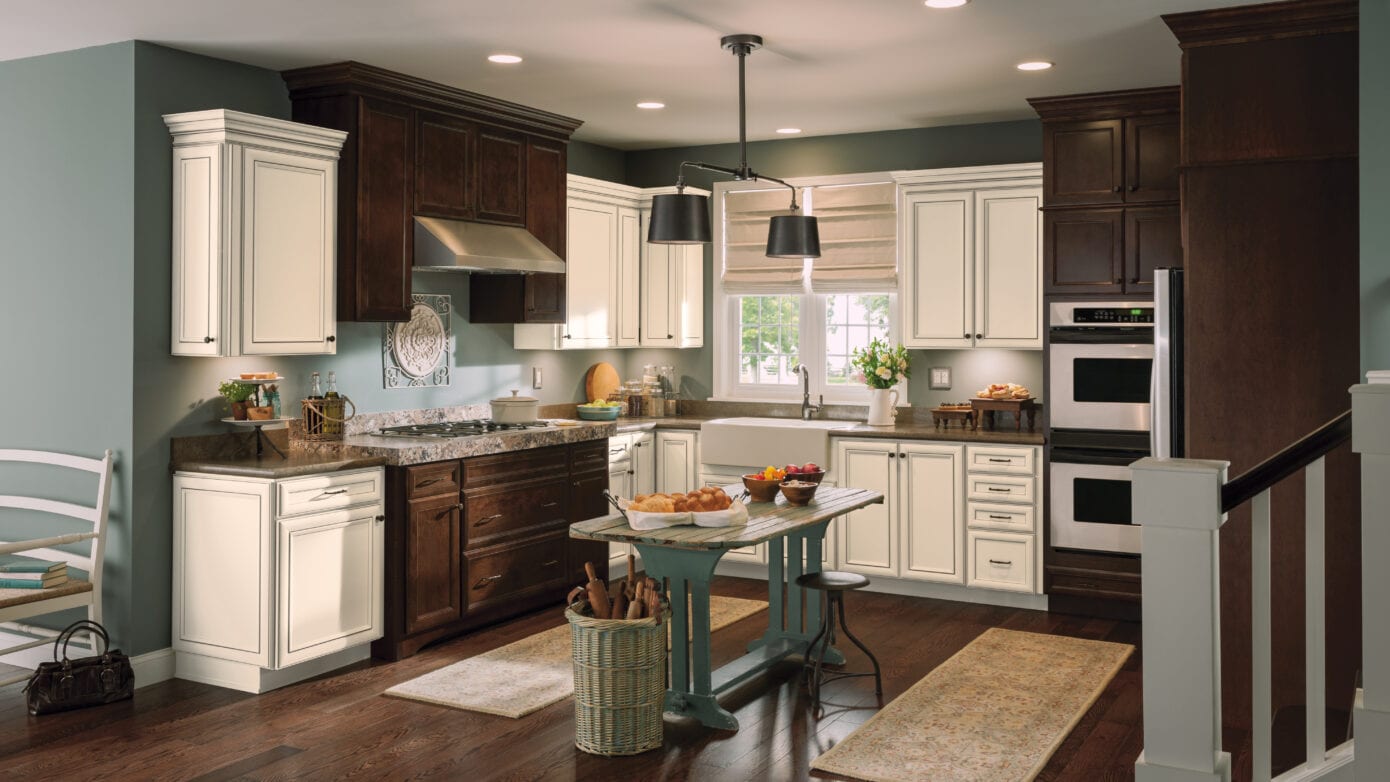
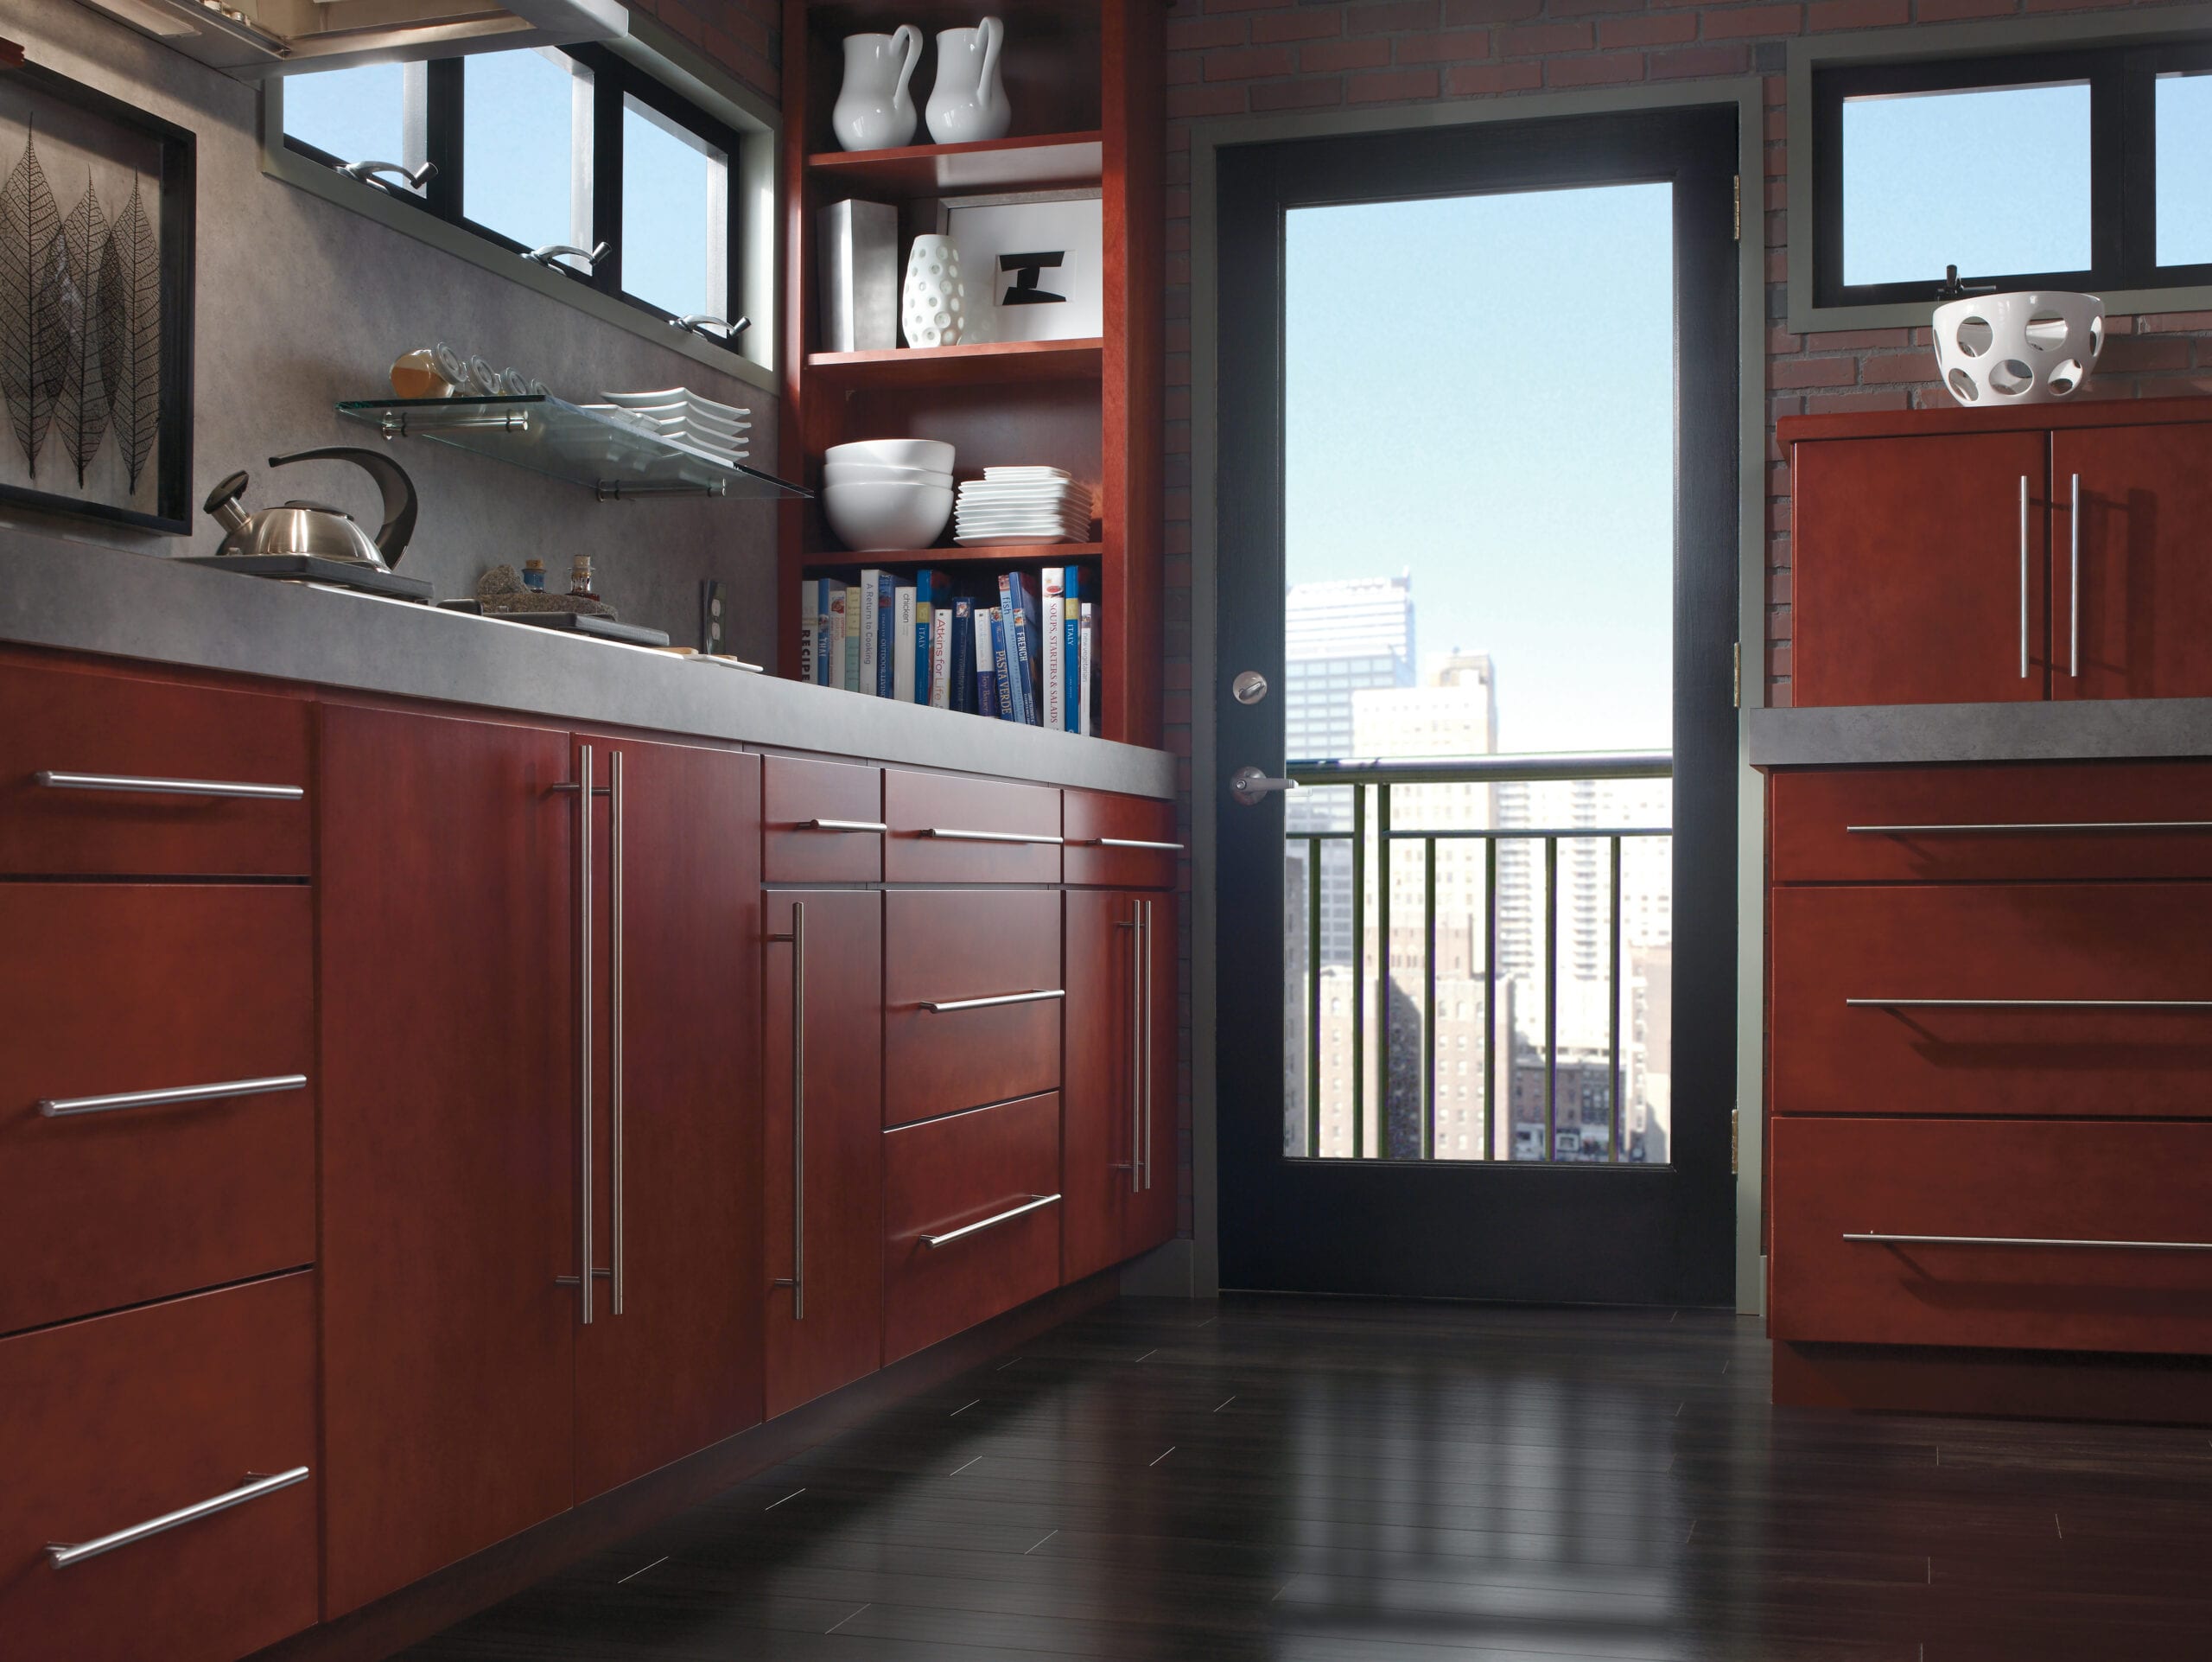
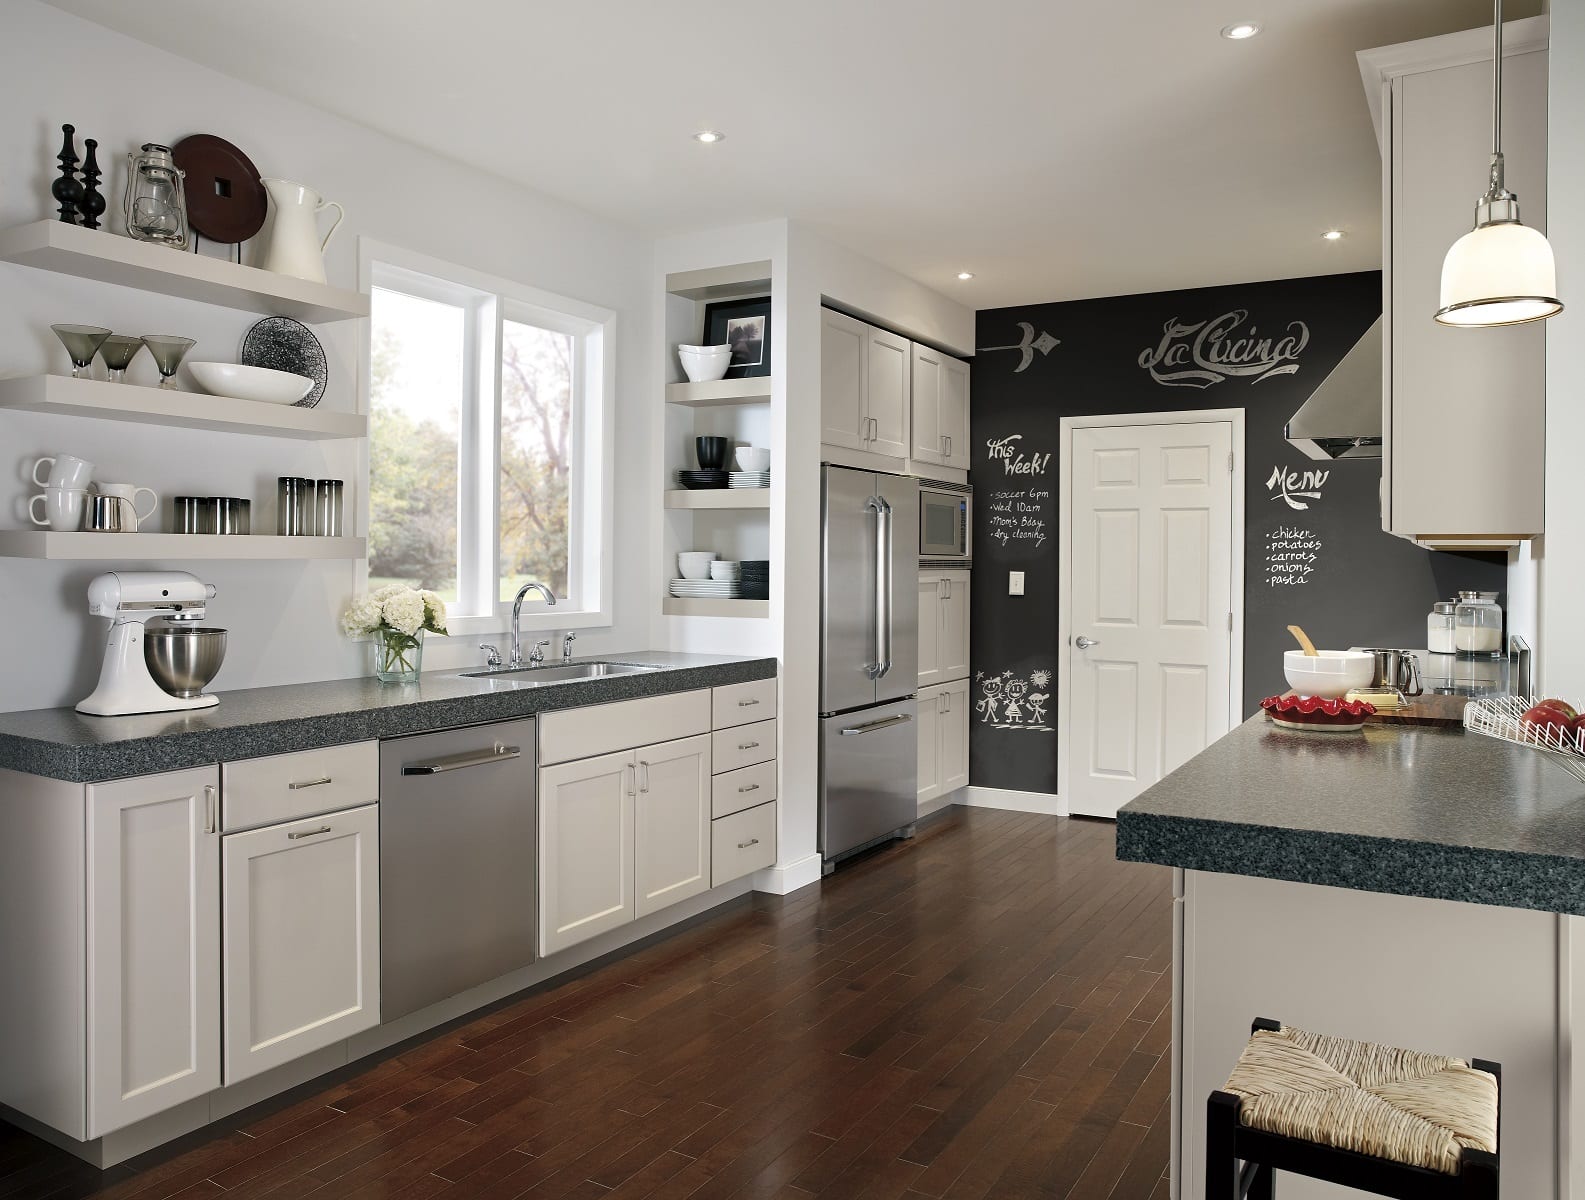
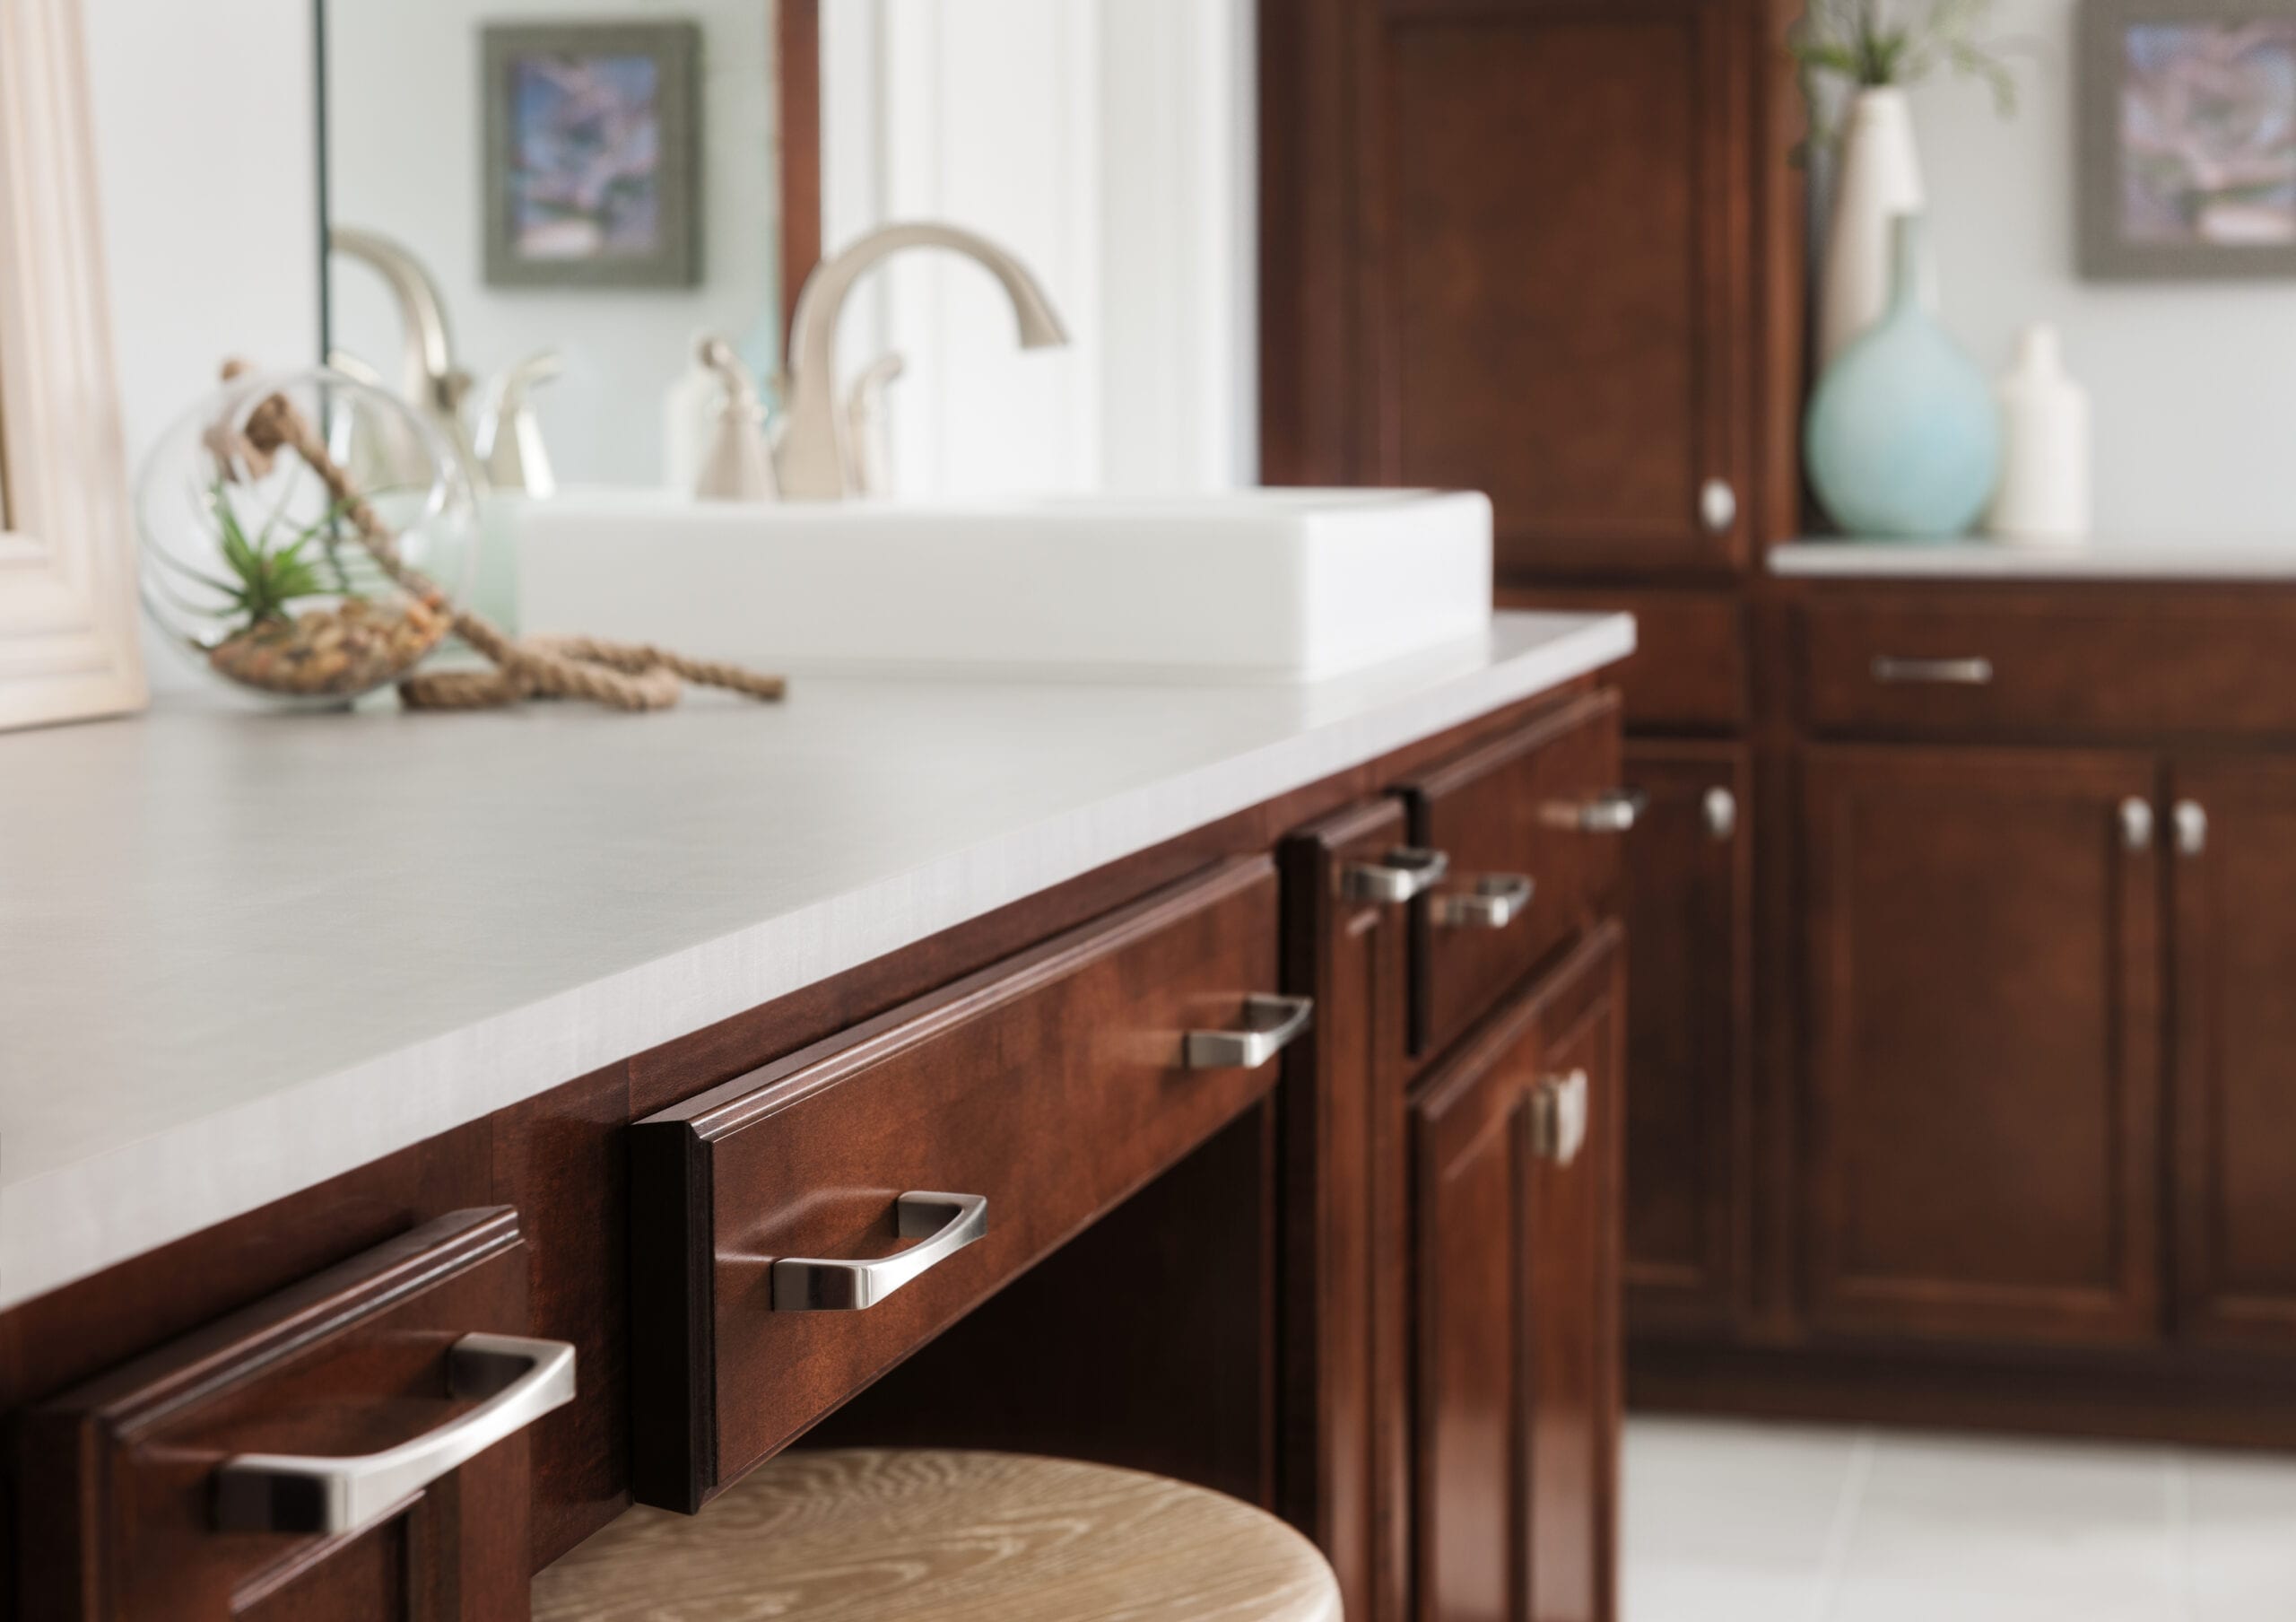
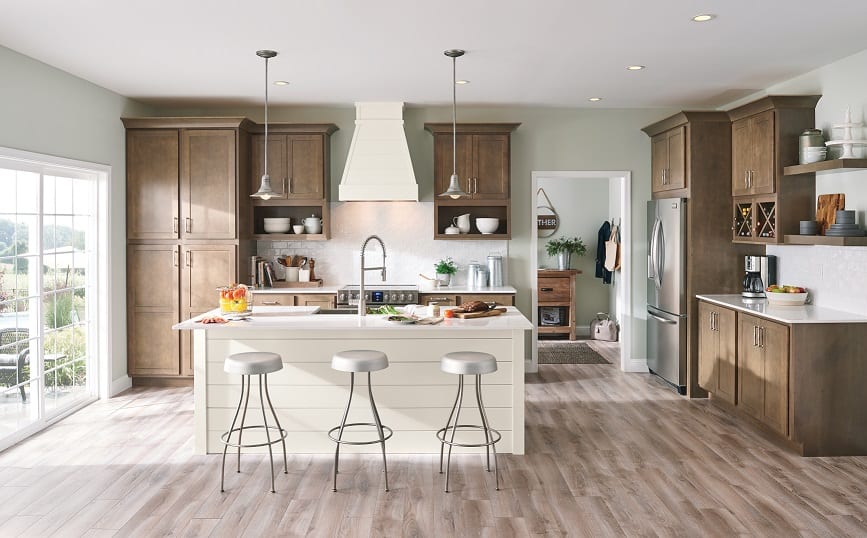
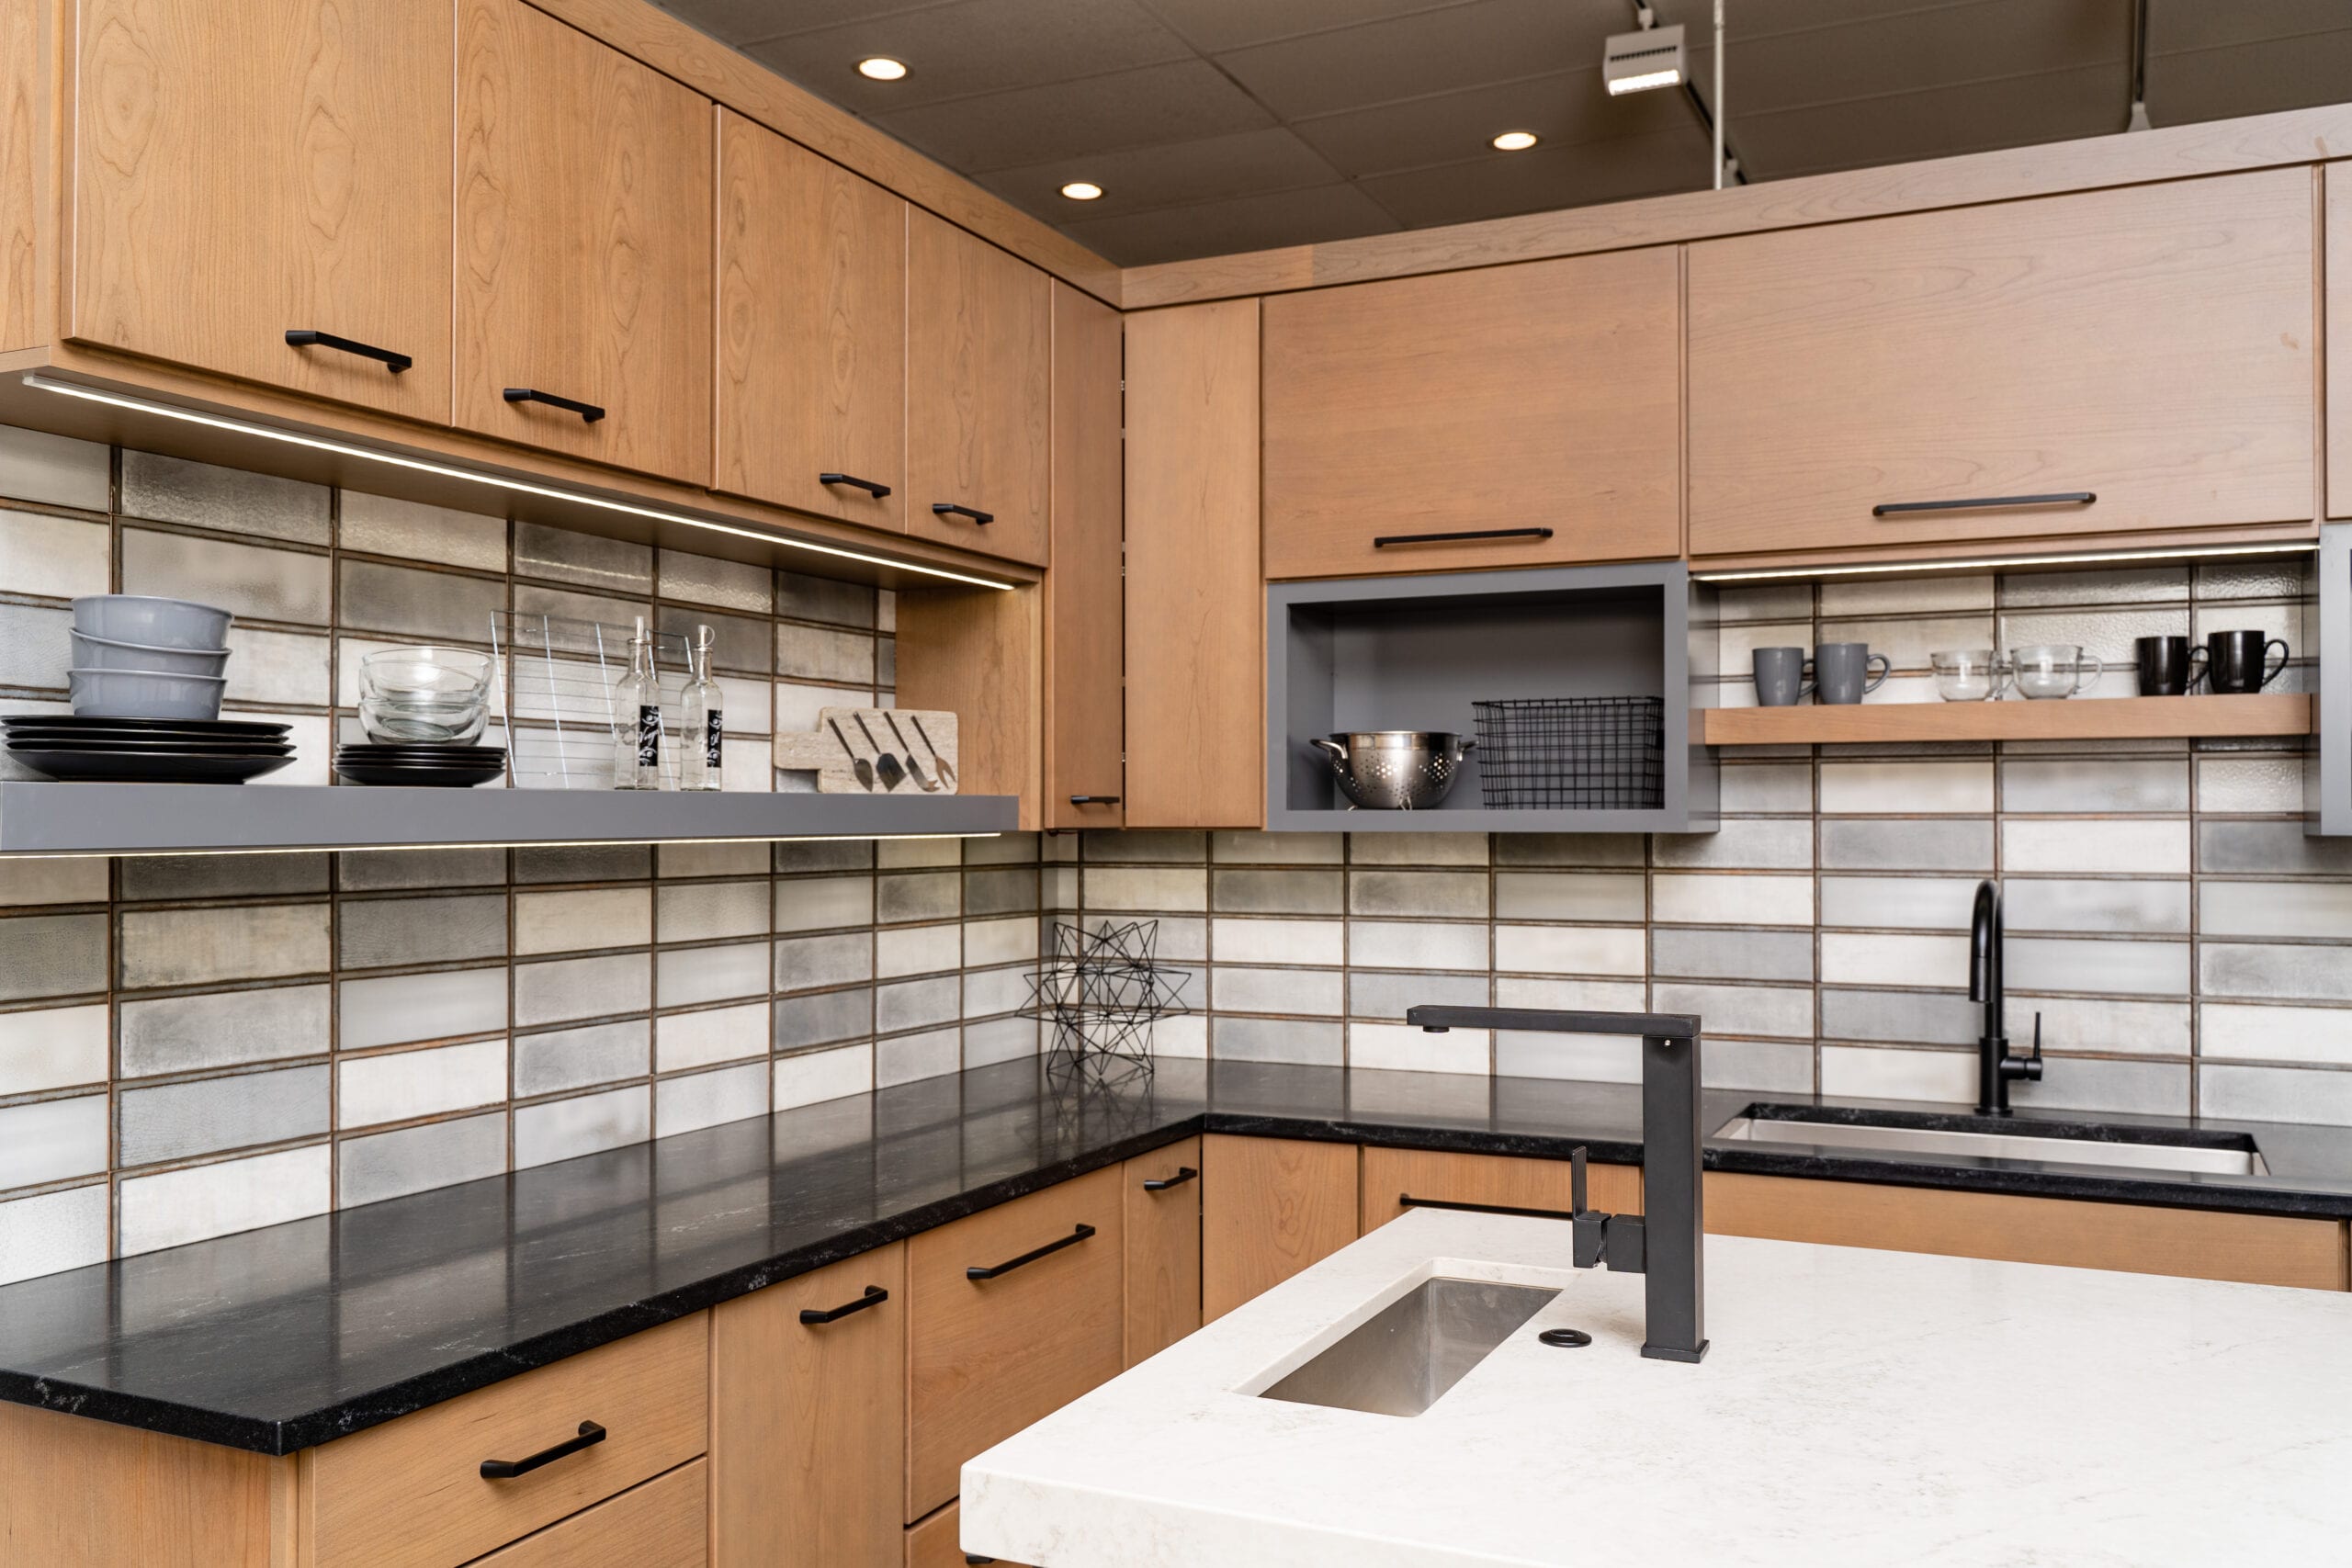
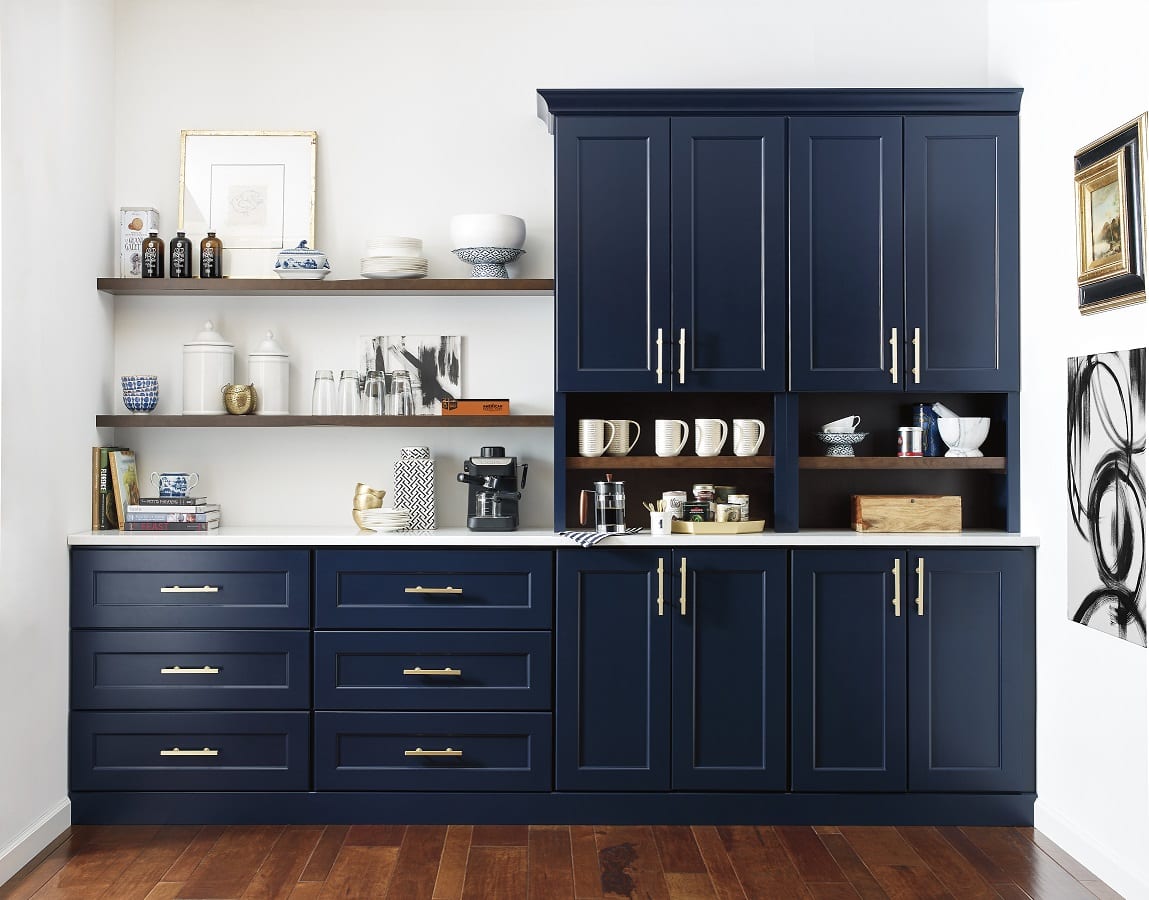
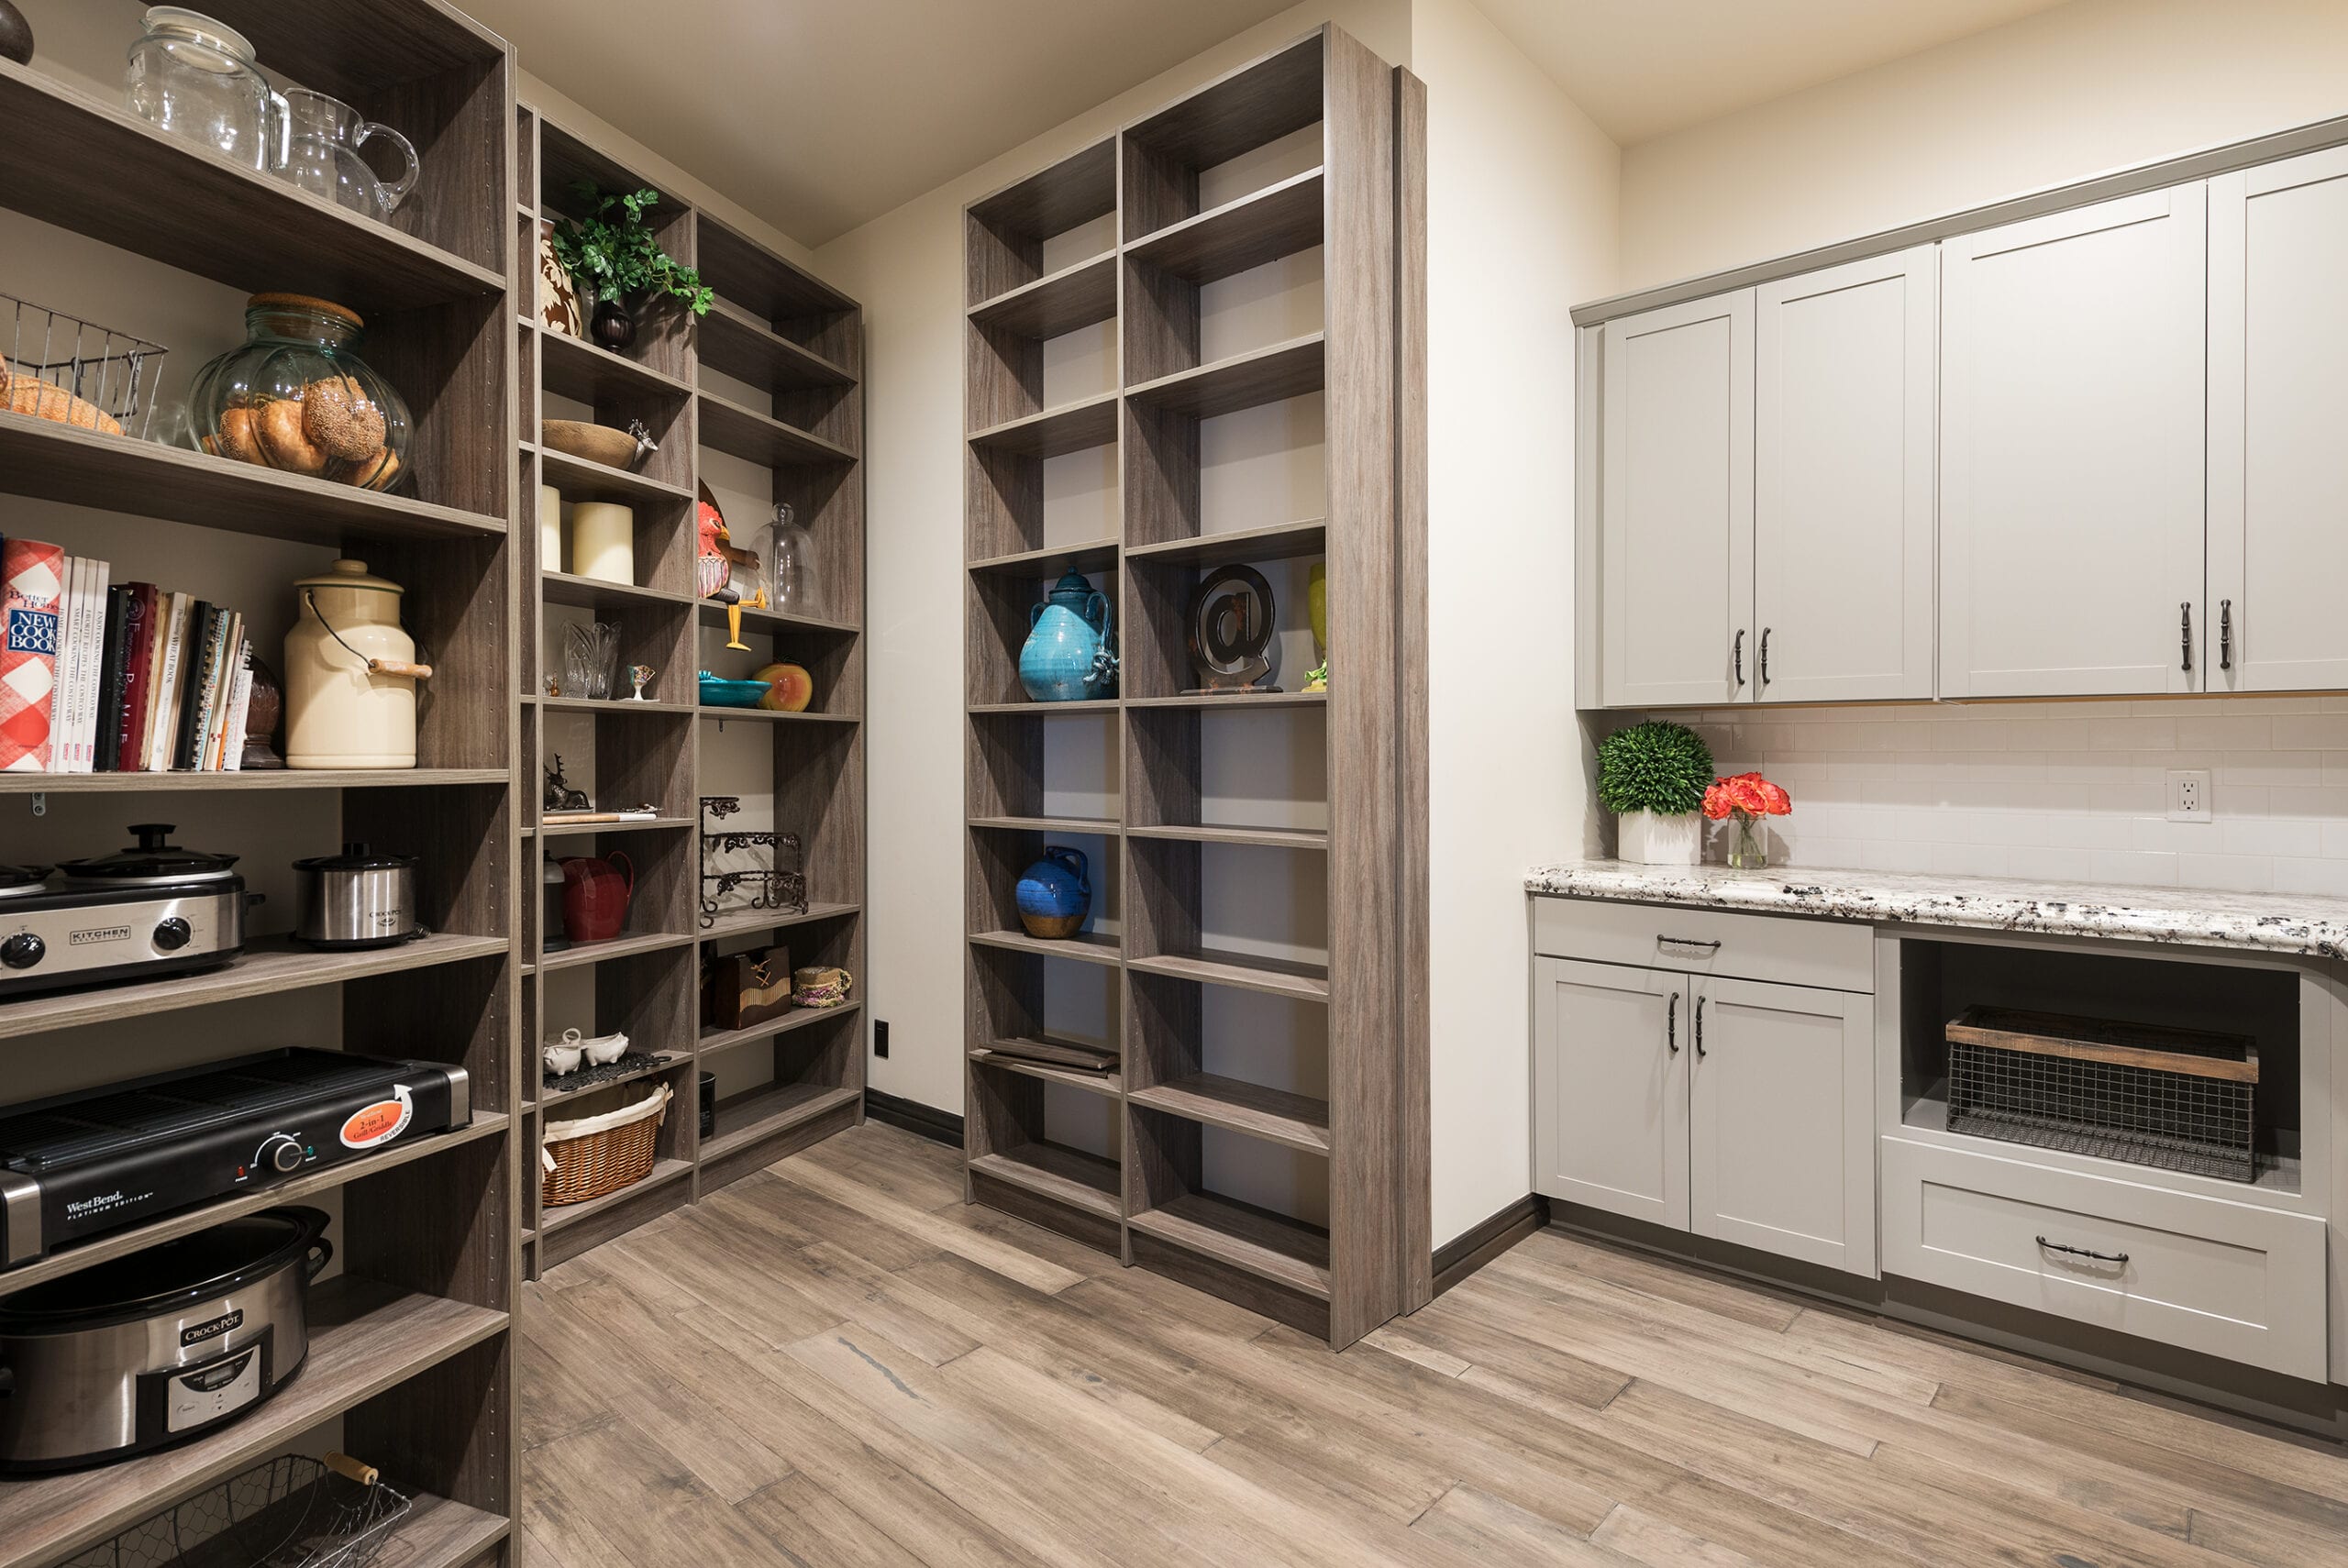
When you’re building a green kitchen, the materials you incorporate matter. For the most sustainable kitchen design, whenever possible choose products made from eco-friendly materials such as reclaimed wood, linoleum or cork for flooring; non-toxic paint for walls and cabinets; and fabrics made from recycled plastic for window coverings.

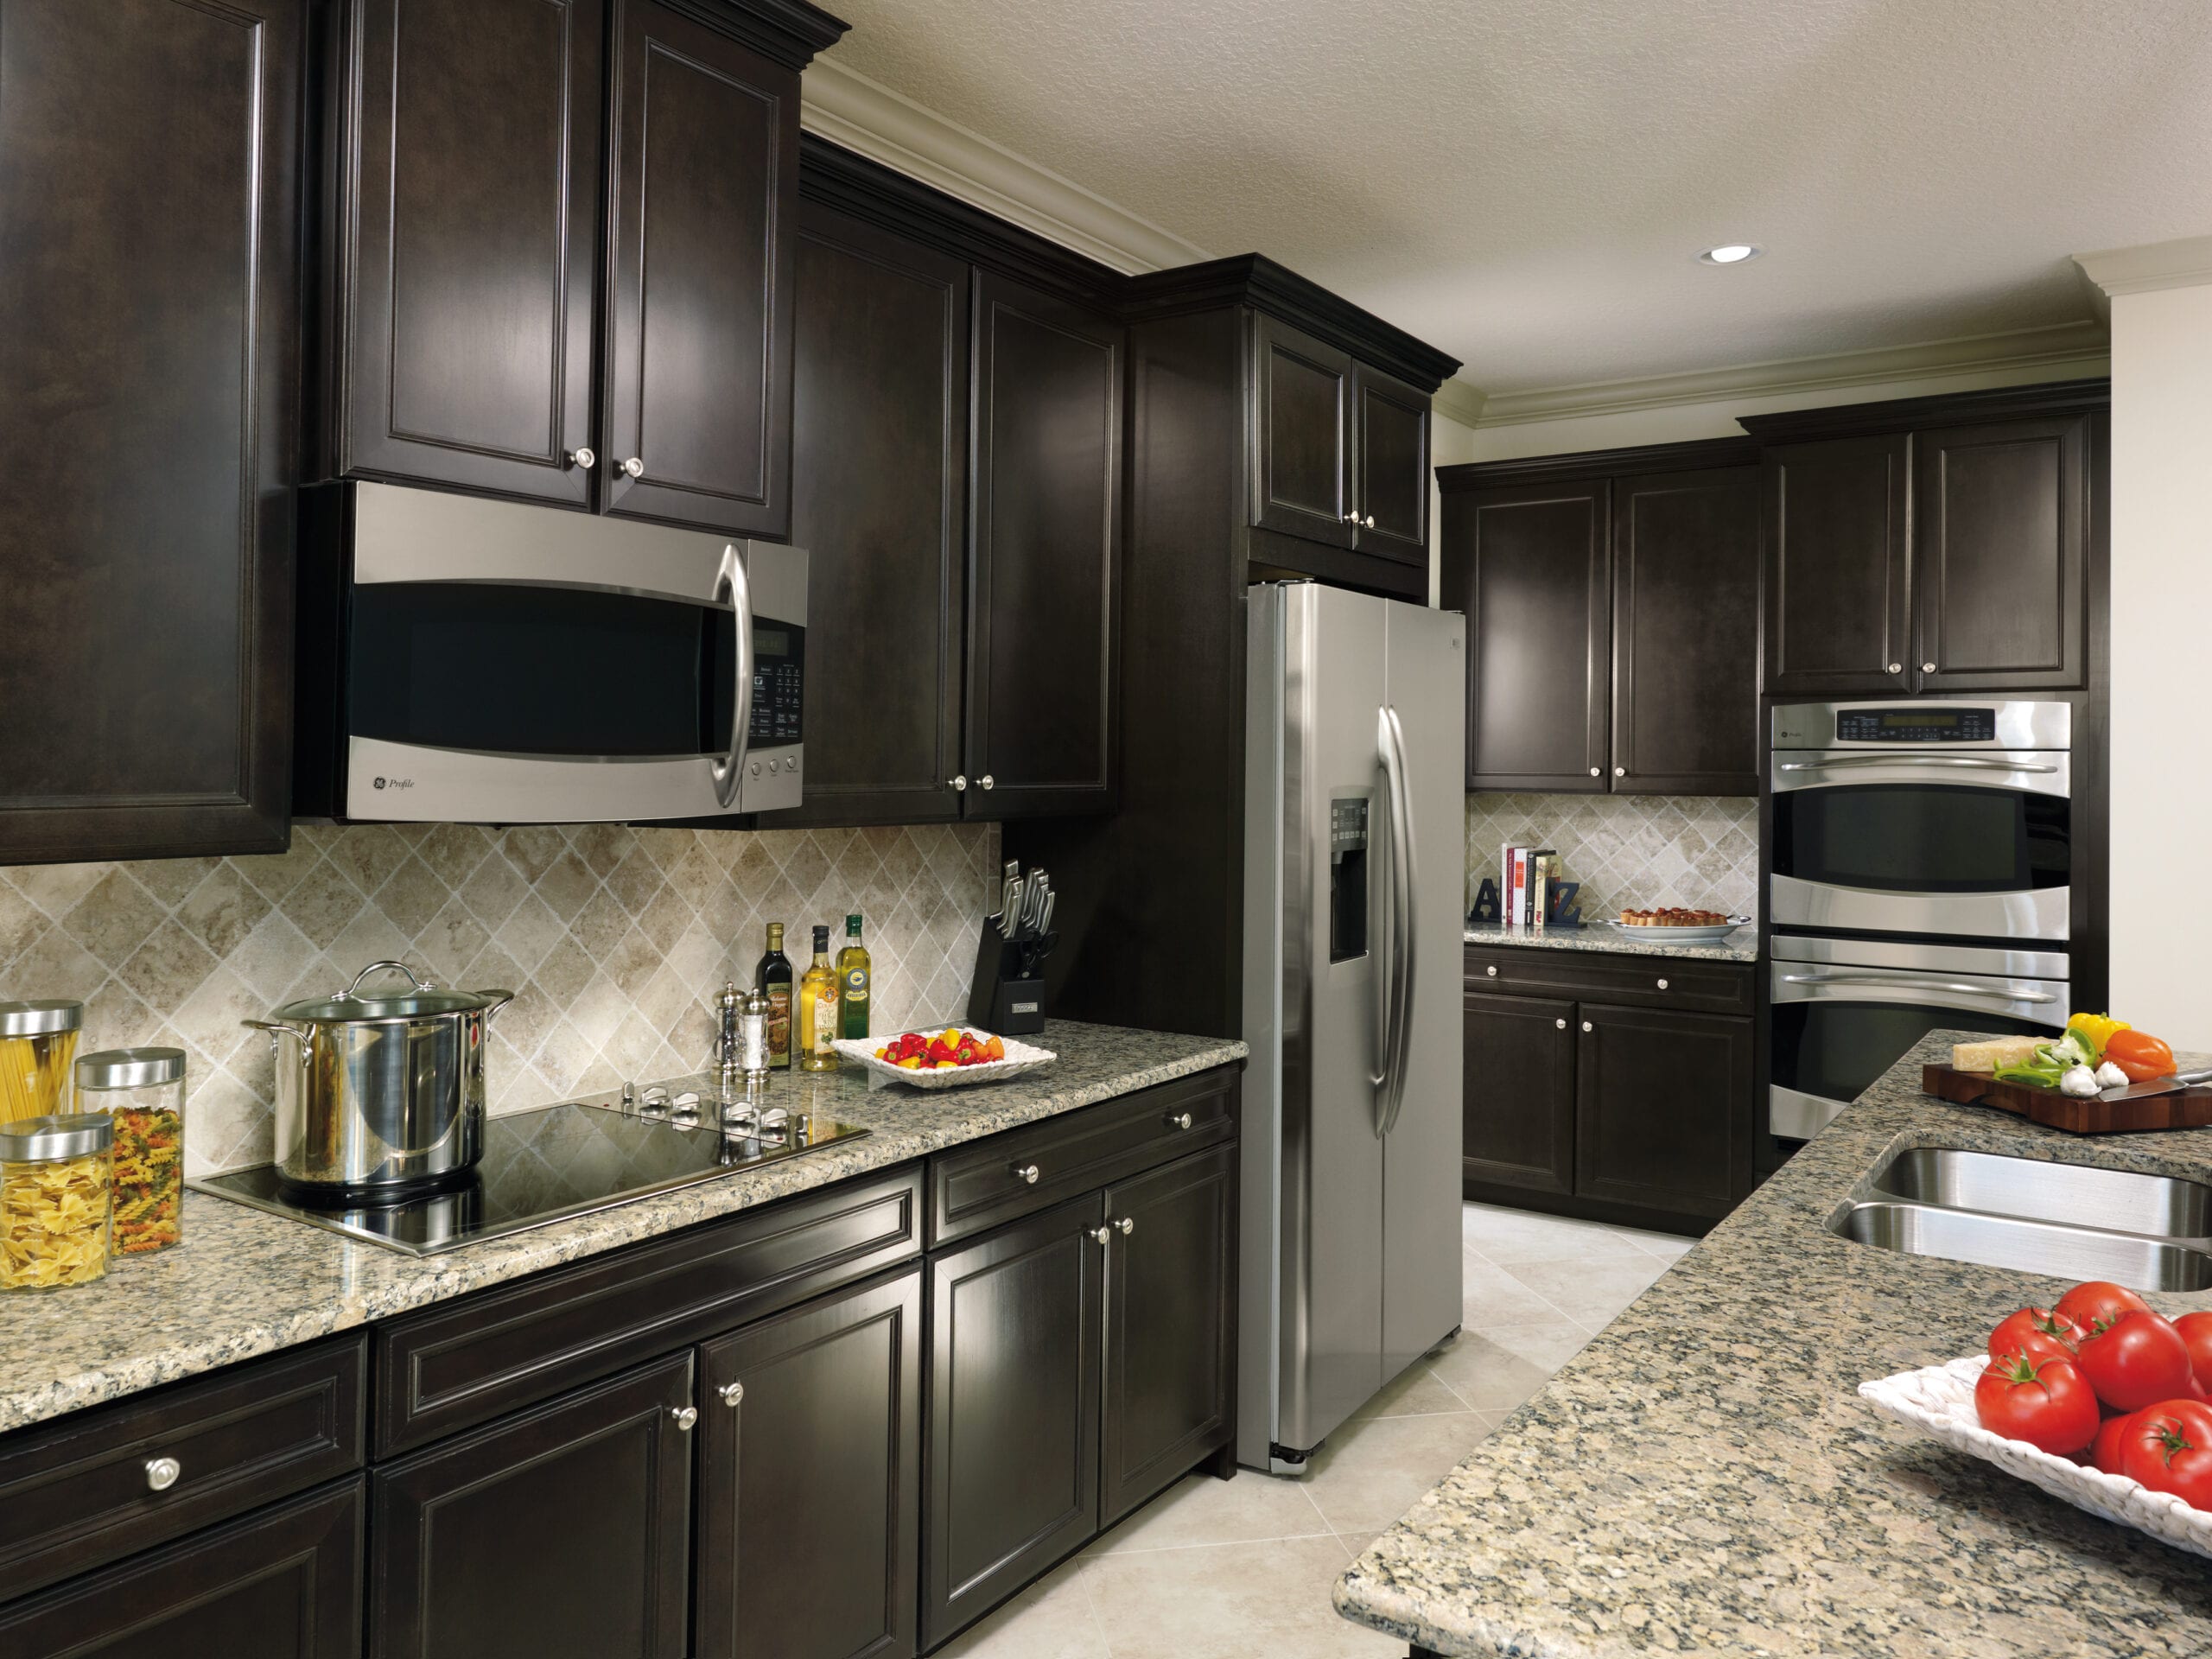
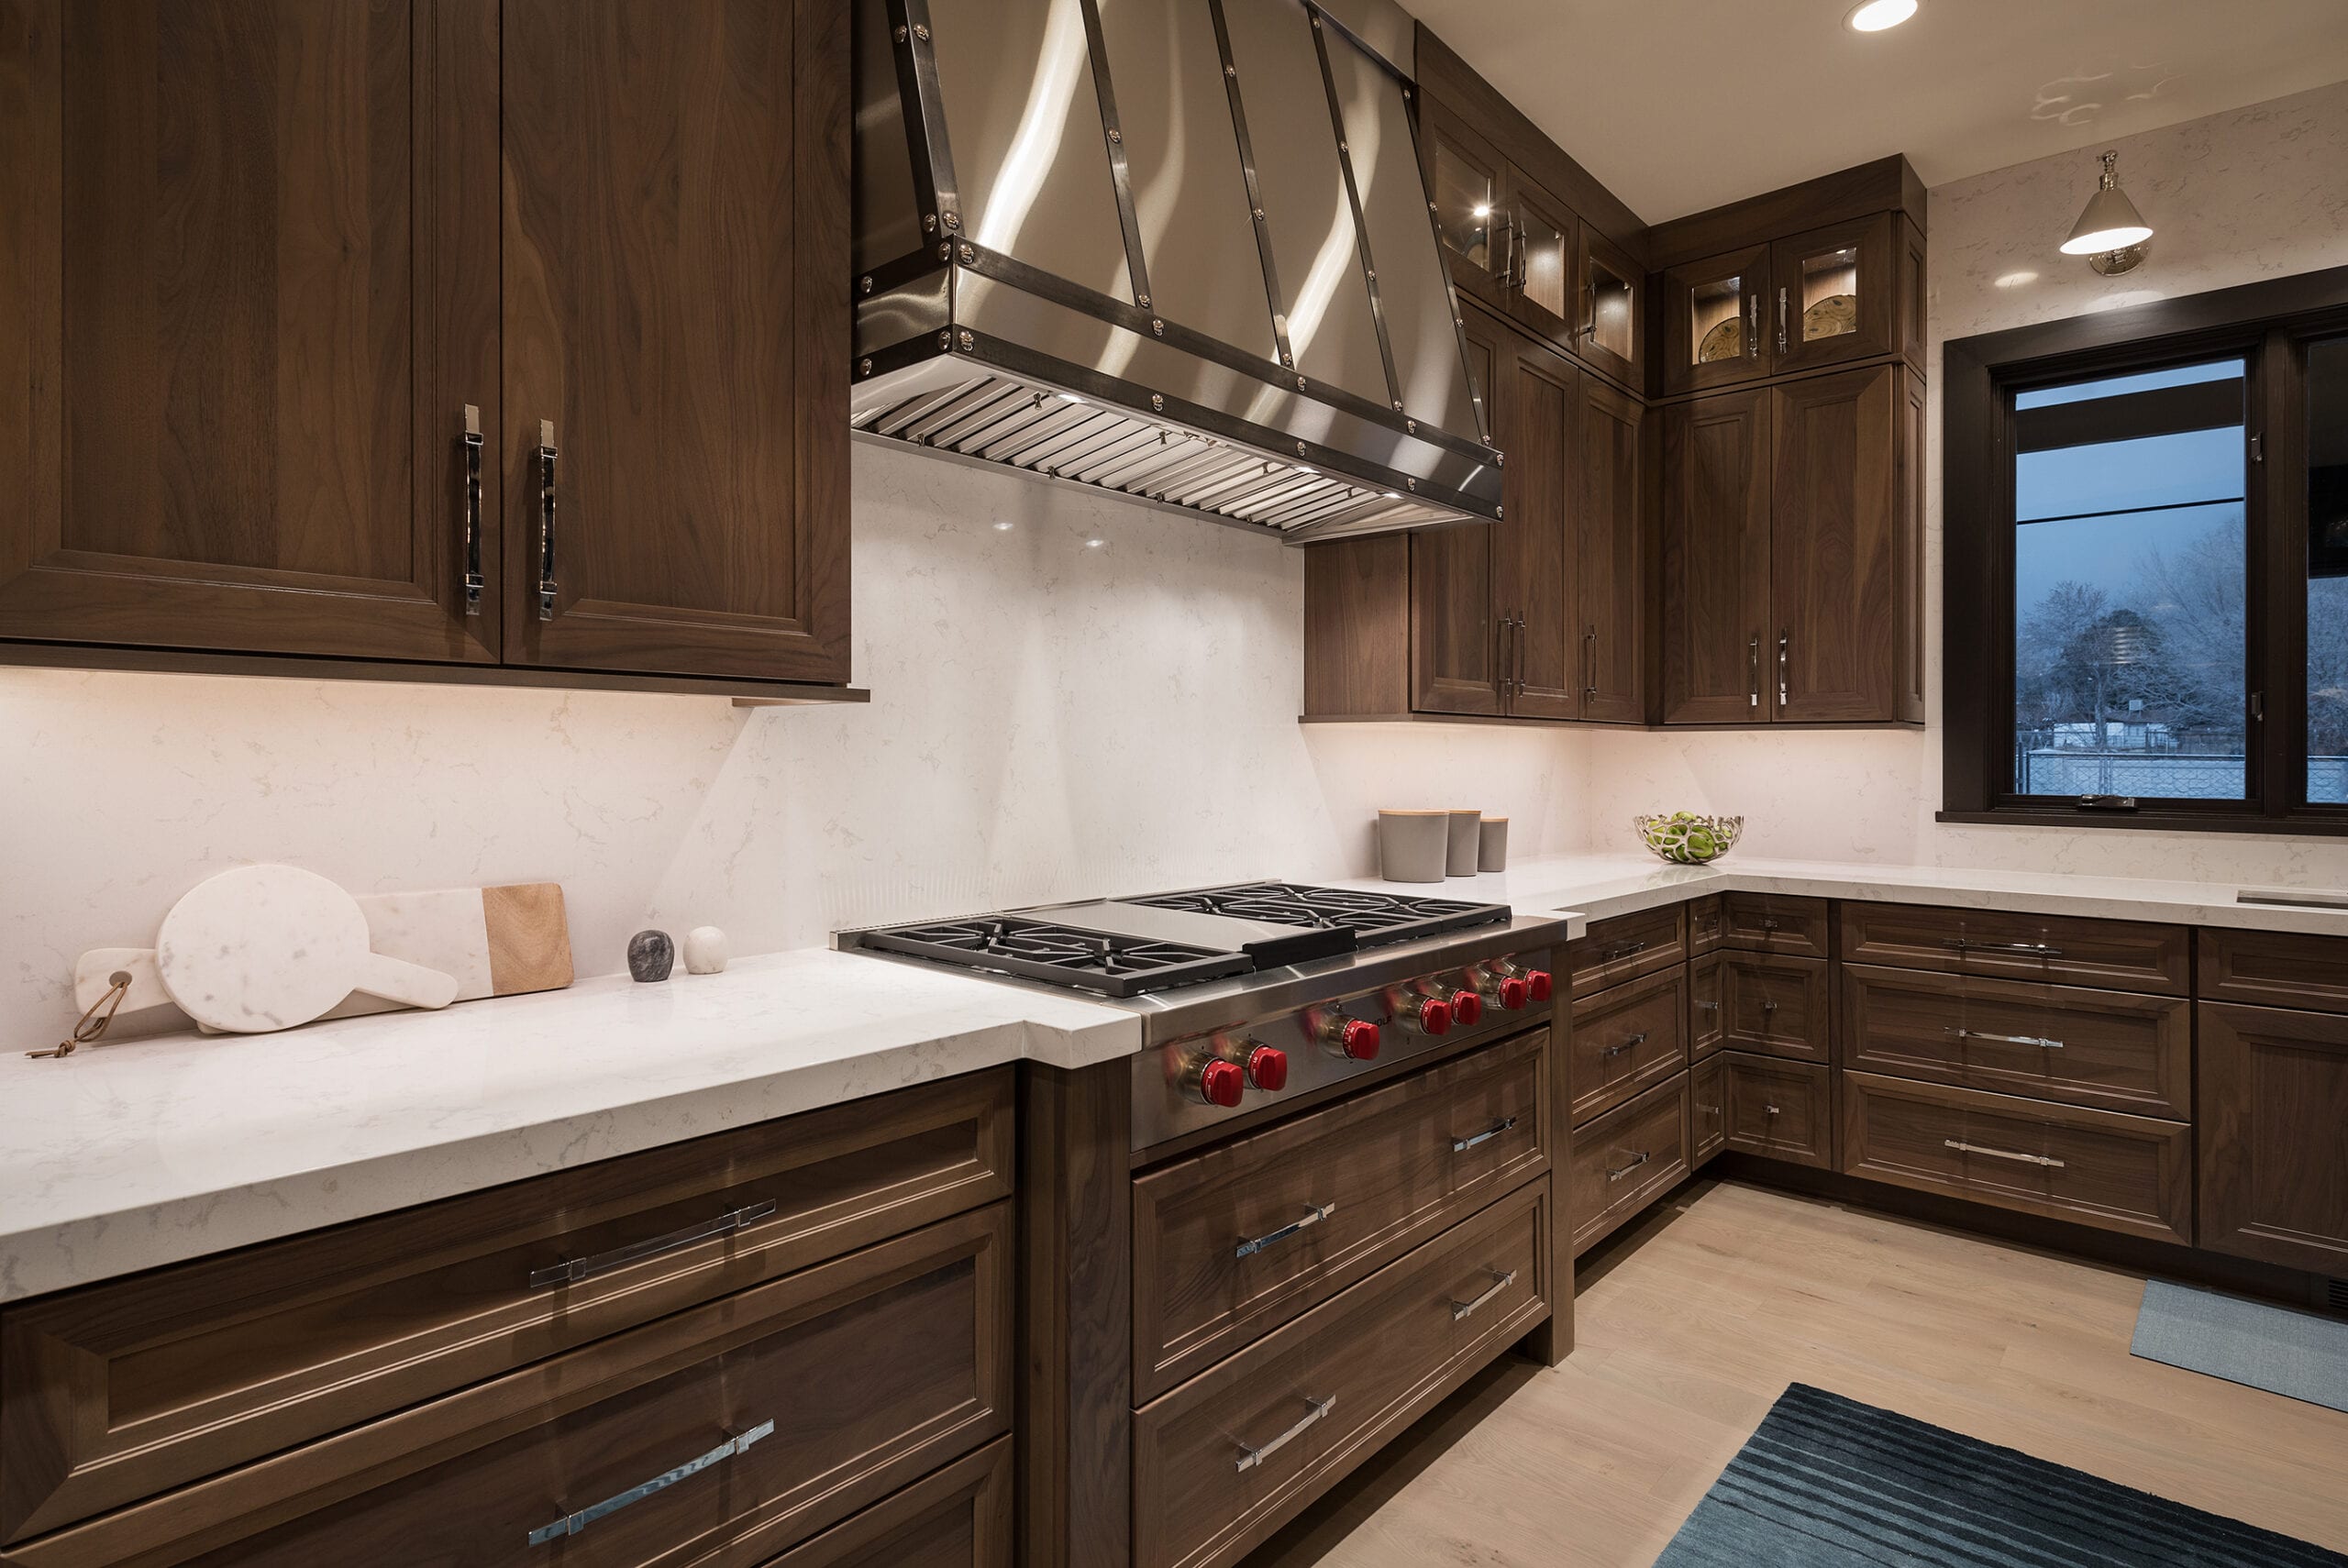
As for countertops, quartz is highly sustainable since it is the second most abundant mineral on the planet and is easily and efficiently mined. Granite also rates high for sustainability as it is completely natural and does not require harmful toxins or chemicals to quarry and finish it. Marble, another natural material, is an environmentally sound choice – as long as you choose a timeless design that you can live with for a long time. The high durability and long-lasting beauty of all of these countertop materials means you won’t be forced to replace them due to wear for many years.

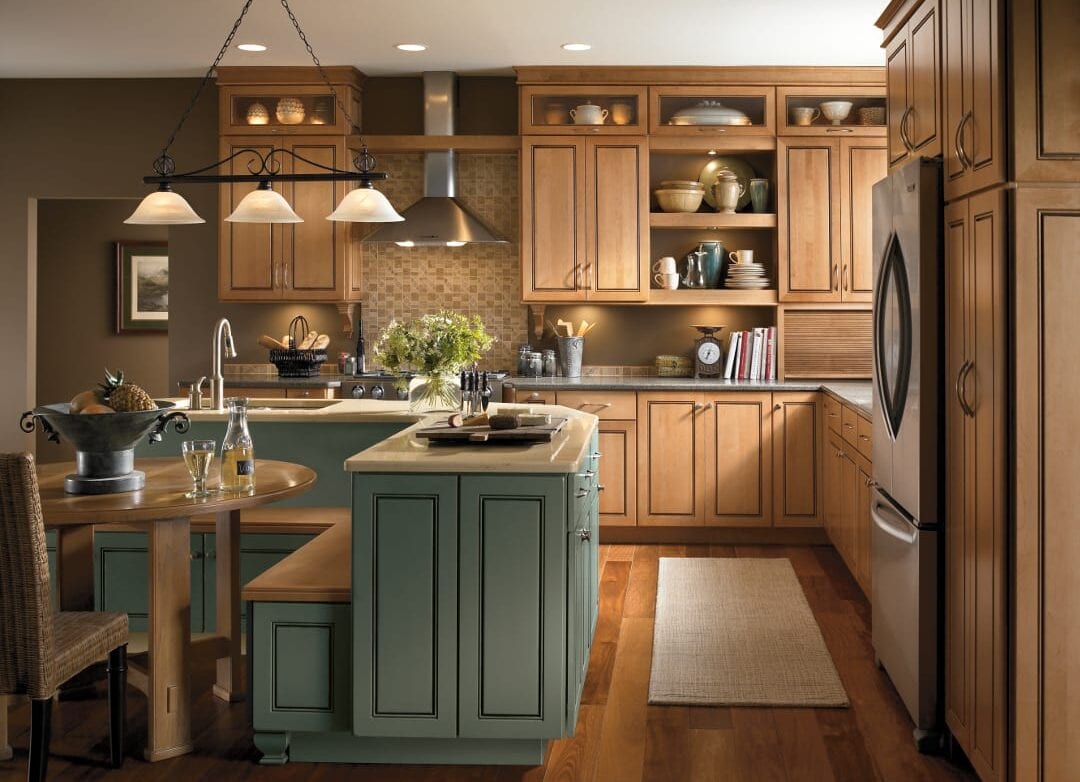
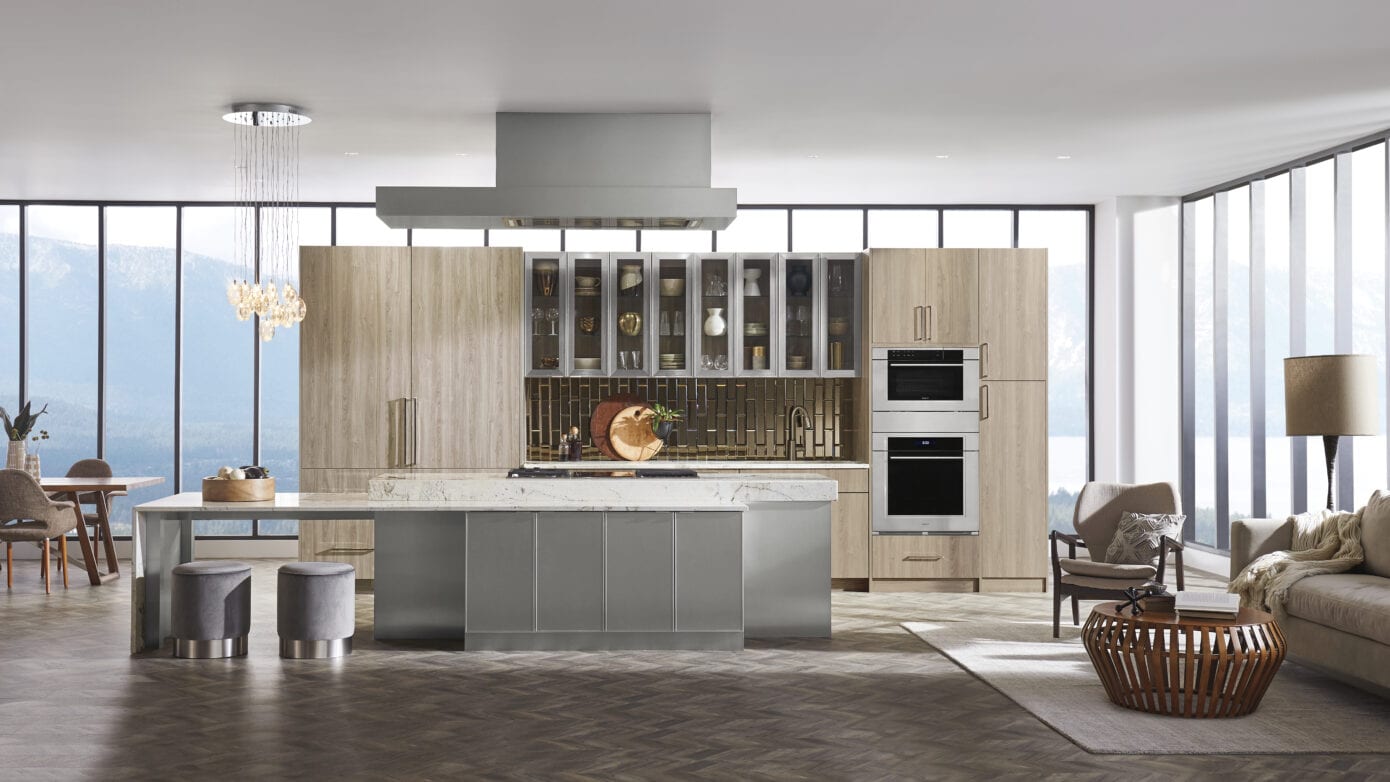
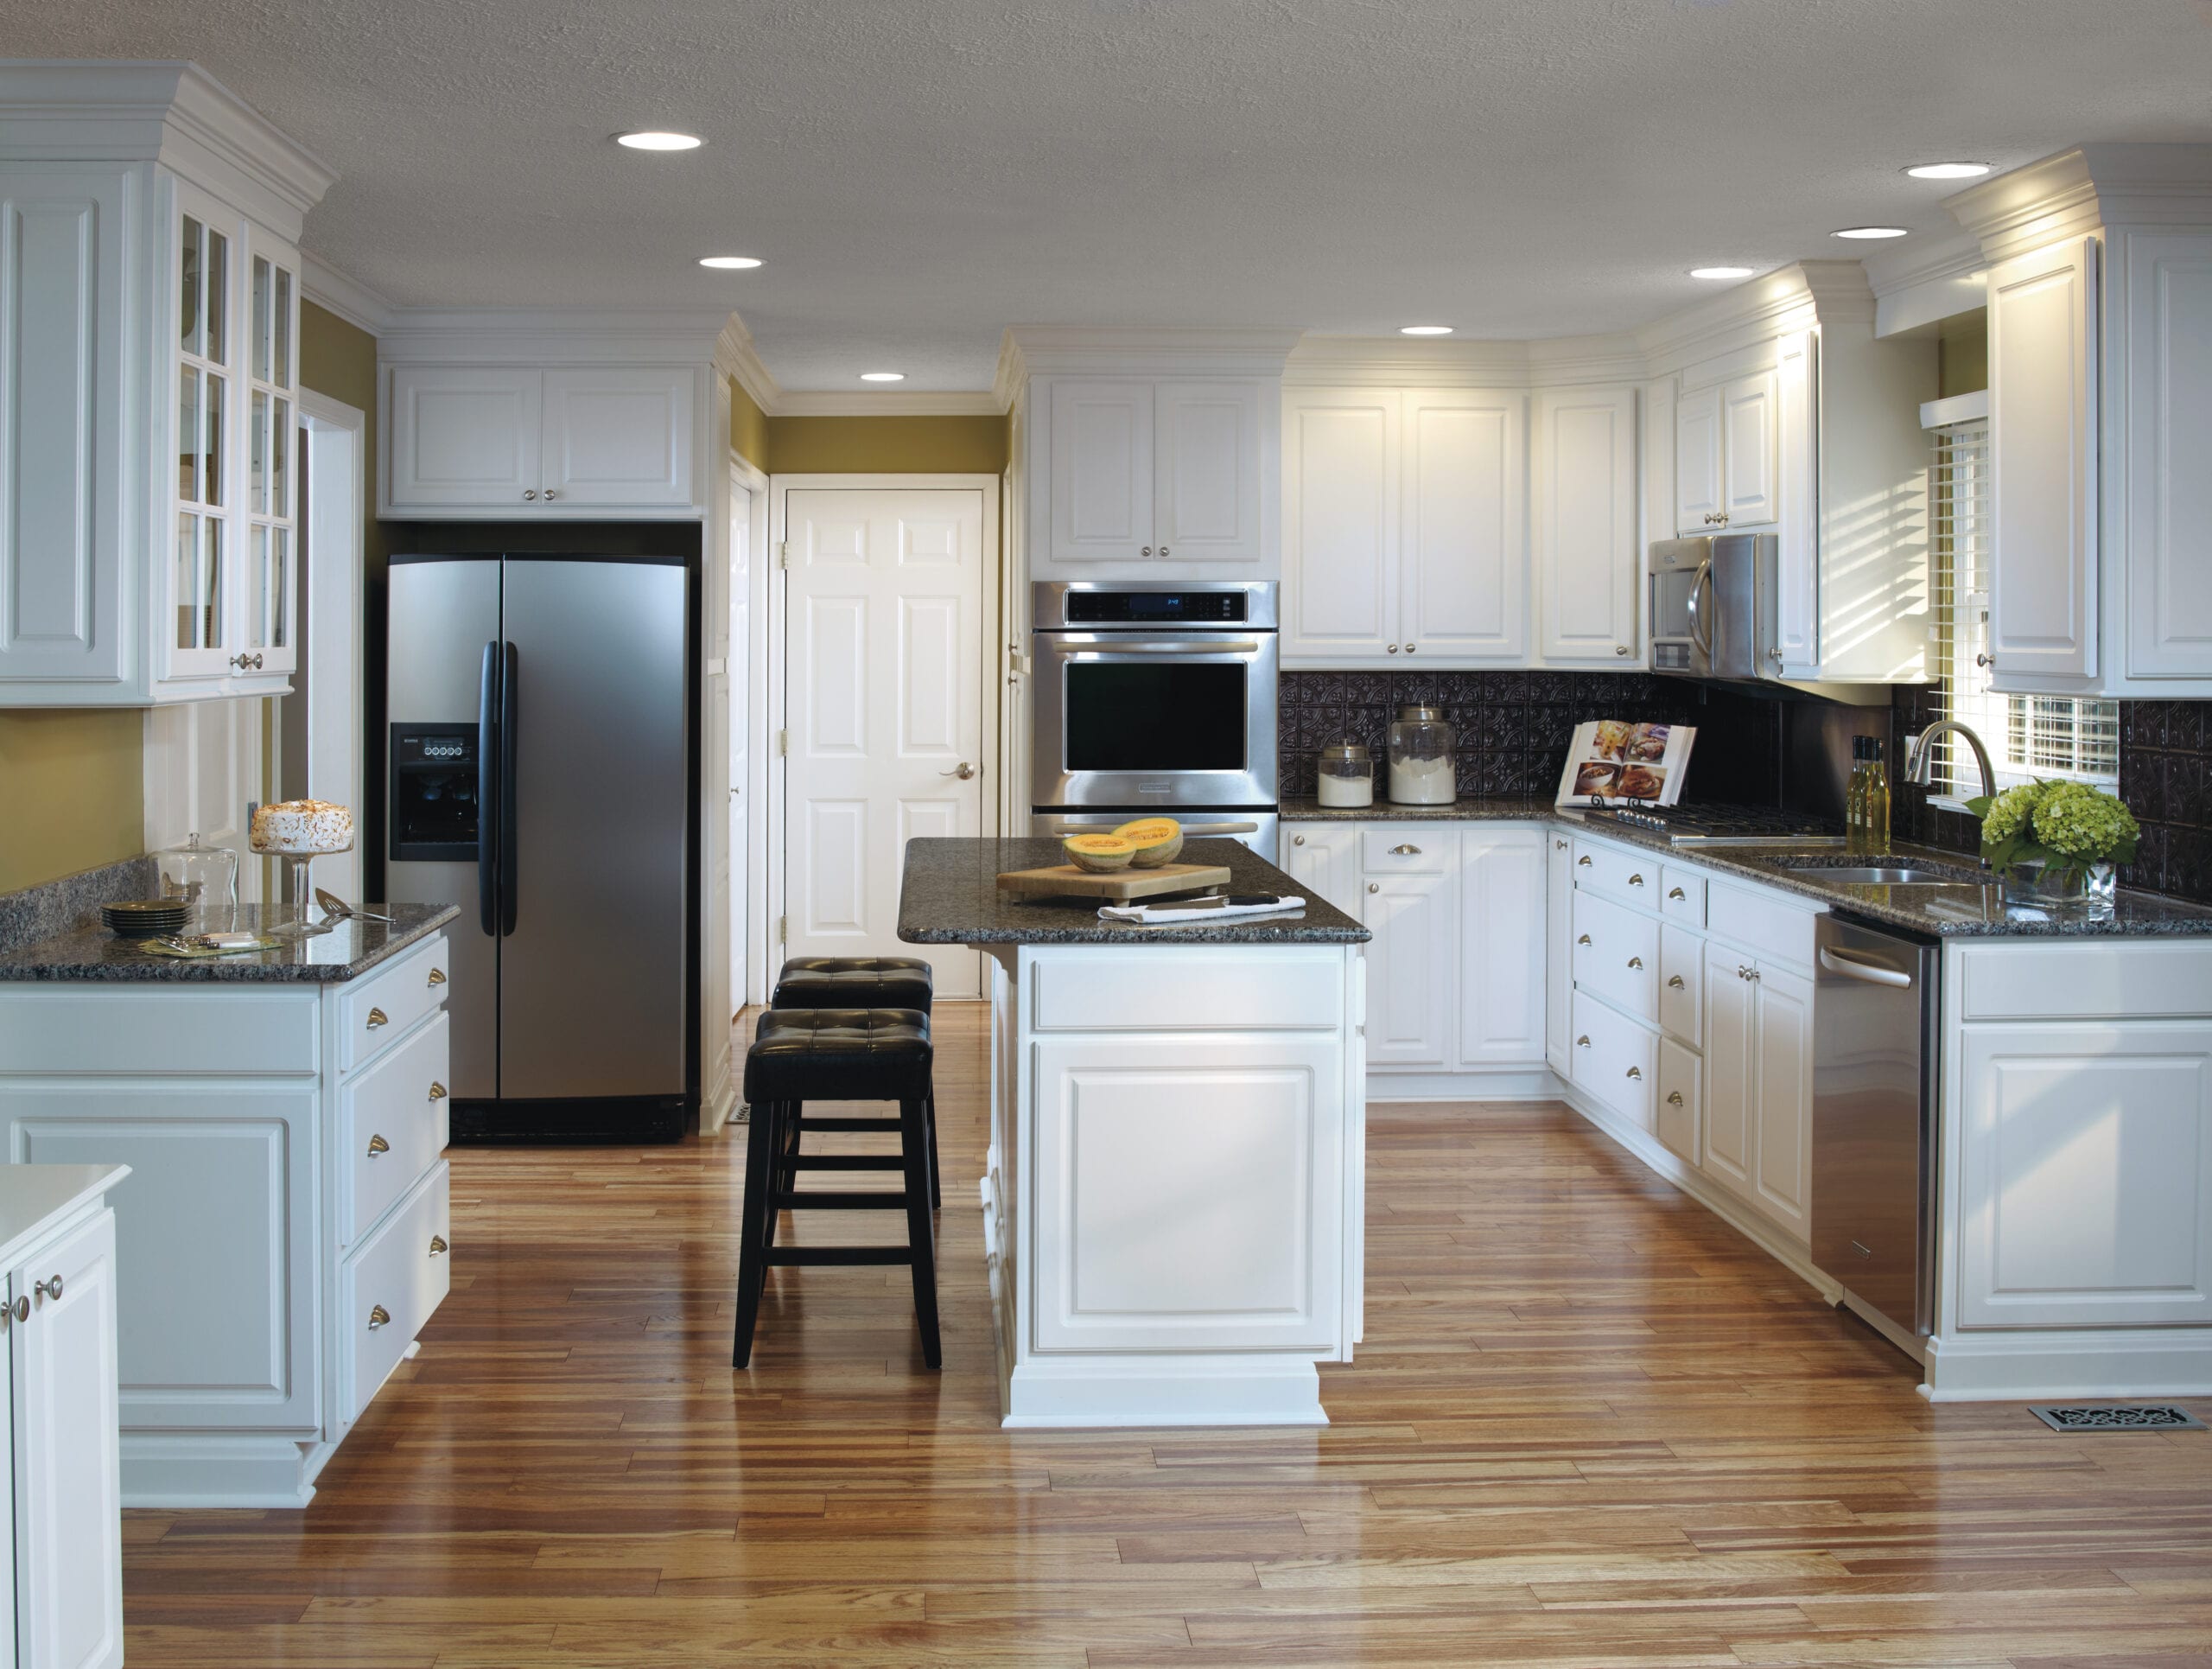
2. Go with energy-efficient appliances.

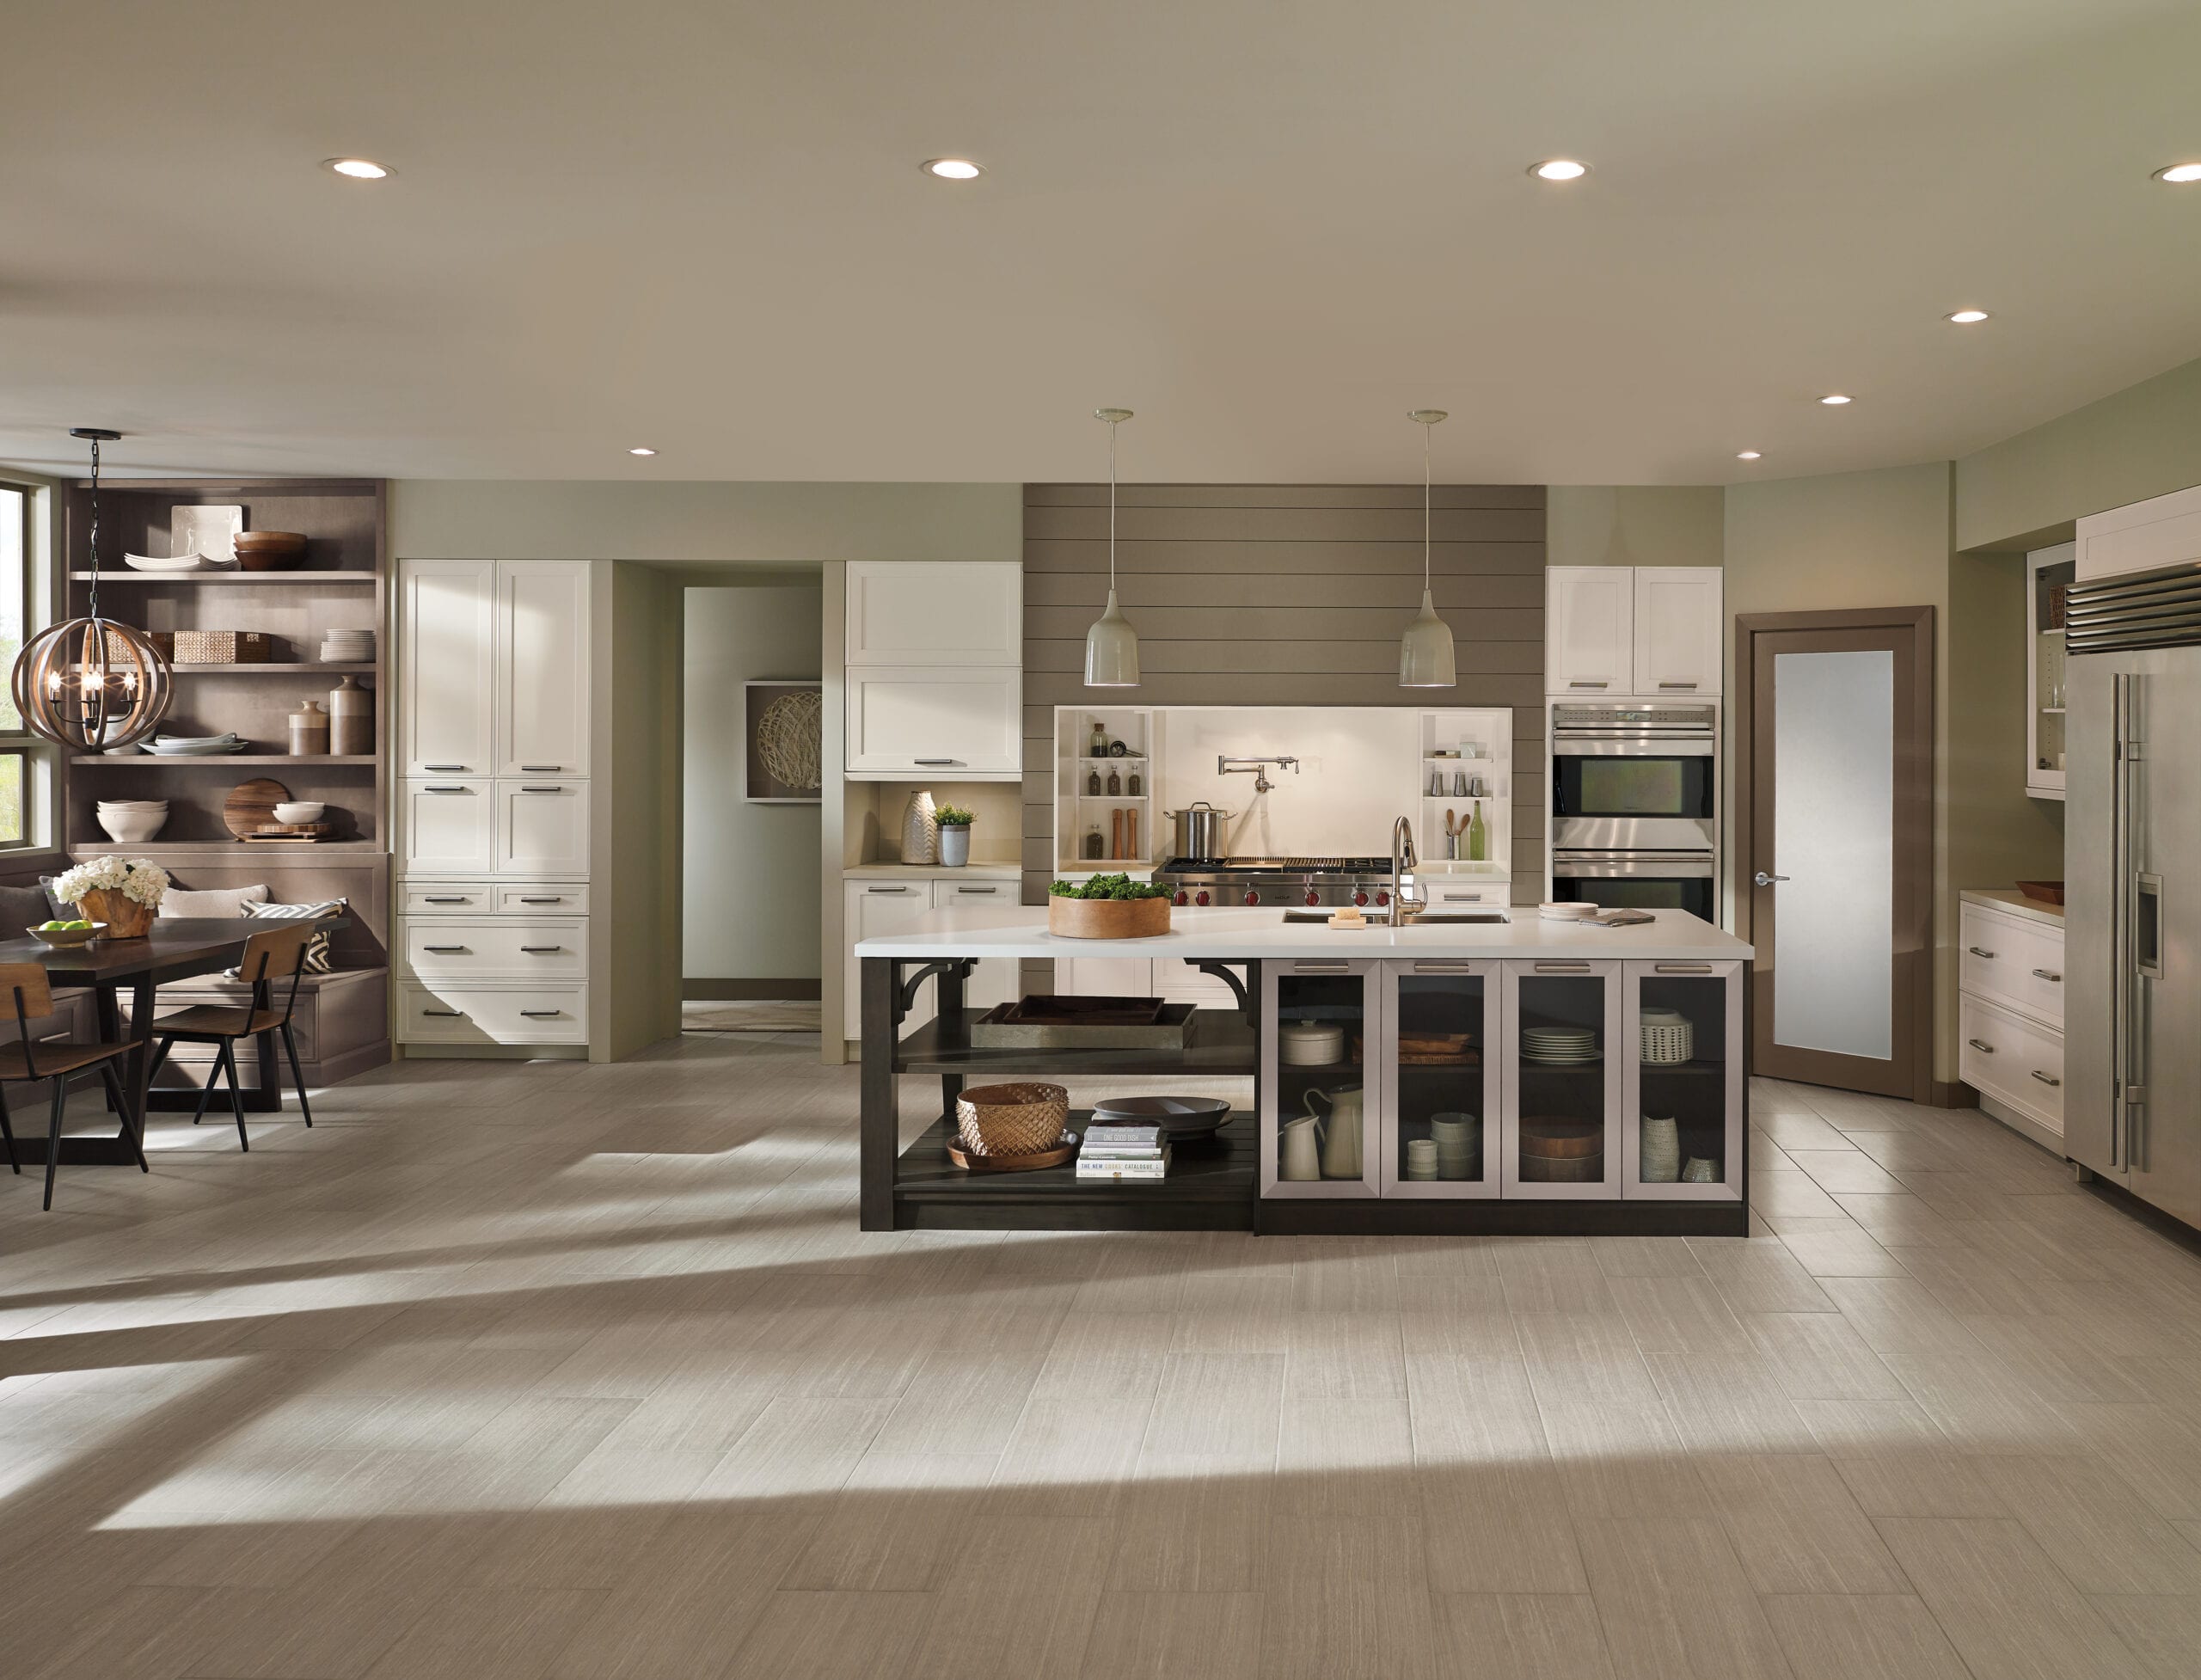
Sustainable appliances do more than just conserve our natural resources – they also help lower your utility bills. Look for Energy Star status and strong performance ratings on your dishwasher and refrigerator choices to get the most bang for your buck and save money for the long term.

Also, don’t think you have to sacrifice style for sustainability in your kitchen appliances. Today’s most attractive appliances are also vying to be the most energy efficient because consumers’ call for sustainability is growing increasingly louder. That means you’ll have lots of options to choose from that are stylish, perform well, and are eco-friendly.

3. Set up a station for recycling, composting and trash.

While buying new “green” products is a wonderful way to create a sustainable kitchen, the main principles of resource conservation – reduce, reuse and recycle – also apply.

To that end, you may wish to set up an area in your kitchen design for separate trash, recycling and composting containers. Designate a section of the kitchen that isn’t especially obtrusive but still easily visible and accessible to everyone in the home, such as in an alcove or nook, next to an island or under the sink.

Once this area is established, read up on what is recyclable in your city and brush up on your composting basics so you’ll know how to treat different types of waste. Because composting and recycling have evolved into the mainstream, finding composting and recycling bins that work with your kitchen design and décor has become much easier.

4. Bring the green indoors.

Incorporating something living will further connect you to your mission of creating a sustainable kitchen.

In addition to potted or hanging plants, consider adding a windowsill herb garden or even planting an indoor vegetable garden. Multiple products are now available to help you grow indoor edible gardens successfully in your kitchen.

As a bonus, consider flora-themed wallpaper or accessories to punch up the green theme and tie in your décor with your other sustainable kitchen renovation efforts.

Creating a sustainable kitchen design can be fun and easy if you know a few basic principles. By choosing sustainable products and energy-efficient appliances; setting up a station for recycling, composting and trash; and bringing outside greenery indoors, you can reap the rewards of a sustainable kitchen design for many years to come.

Pulls, Latches, and Knobs: Demystifying Cabinet Hardware Selection

Pulls, Latches, and Knobs: Demystifying Cabinet Hardware Selection 2560 1707 Chris & Dick's | an ILG Company

Cabinet hardware is probably not the first thing you think of when planning a kitchen or bathroom remodel.

However, at some point after the big decisions on countertops, flooring, cabinetry, lighting, appliances and wallcoverings are out of the way, you will be faced with choosing how to open your cabinets and drawers. And even though it may seem minor, selecting cabinet hardware is a big decision, too. Think of it this way: you and your family will look at and touch those pulls, knobs or latches every day. They should reflect your tastes, match the style of the room – and last a long time.

Before this revelation revs up any indecisiveness, rest assured that the designers at Chris & Dick’s are here to help. Our seasoned team of professionals has been assisting homeowners in making decisions on their home renovation projects for more than 60 years. They’ve put together the following tips for demystifying cabinet hardware selection.


1. Go for contrast.

While not the most obvious element in the room, hardware is allowed to sing out and be noticed. To achieve this, choose hardware that stands out by contrasting the colors with your cabinets, countertops, flooring and walls.

For example, drawer pulls with a black matte finish work great against white or cream cabinets and walls and light hardwood or plank flooring. Brushed nickel knobs—although not a new trend—are always in fashion, so pair them with dark natural or painted wood cabinets for a refreshing bit of contrast.

Think of your hardware as an accent piece, one that will complement the main elements of the room without disappearing within them.

2. Consider durability.

Let’s face it—cabinet hardware gets a lot of use (and potentially abuse). To meet this rigorous demand, it must be durable in material, color and design. In this way, form and function need to work together in your cabinet hardware choices.

For example, while you might like the clean look of white wooden knobs to match your white wooden cabinets, they might not be the best option if you have young children. Instead, select a material and color that can withstand being touched frequently with sticky/dirty hands, like copper, brass or metal-plated pulls or knobs in darker, more forgiving tones.

It’s also important to know which form of cabinet hardware—knobs, pulls, and latches—will last the longest in your renovated room. Knobs tend to come loose more easily than pulls, which distribute the force of opening cabinets and drawers across a wider area. Pulls and handles have become popular choices in today’s home designs because they look current and give cabinets and drawers a sturdier feel. While latches are a quaint option commonly seen in modern farmhouse looks, they can be impractical on all your cabinets – working a latch each time you want a plate gets old, and the likelihood of a latch breaking increases the more it’s used; instead, save latches for rarely used cabinets so they serve more for form than function.

3. Match hardware to the style of the room.

 Hardware choices can really add character to your room design. The trick is knowing which hardware styles will enhance rather than detract from the look you want to create.

When making these decisions, think about the vibe of the room and whether the hardware matches that vibe. For example, if you’re going for a modern look, oversized drawer pulls that range from 6 to 21 inches long lend a minimalist feel to the room that aligns with the modern sensibility. These longer pulls can be used vertically for tall cabinets and horizontally for large drawers.

As for finishes, matte black – an updated take on dark finishes – works for classic and retro styles, while metallics like gold and copper add warmth to country and rustic looks.

Selecting your cabinet hardware during a home renovation doesn’t have to be a difficult or stressful process. If you go with contrast, consider durability, and match the hardware to the style of the room, you’ll be set up to choose hardware that harmonizes with all of your other home remodeling decisions.

How to Add Shades of Green to Your Kitchen Design

How to Add Shades of Green to Your Kitchen Design 1080 811 Chris & Dick's | an ILG Company

From chartreuse to avocado to teal, green is a trending color in today’s kitchen design.

Green is a great hue to incorporate into your kitchen design because it can evoke many positive emotions, including a sense of peace, calm, happiness and wellbeing. One of the reasons for this is that green mimics the tones you would see outside in nature – and human beings crave a connection with nature in their everyday lives. It only makes sense to add this color to a room you visit as often as your kitchen.

Still, no matter how much you love green, you want the color to enhance the room without making it look garish. How do you achieve the right balance?

The professional design team at Chris & Dick’s handled this question countless times over the 60+ years our firm has been in business. From their deep well of experience, they offer the following tips on adding shades of green to your kitchen design.

1. Play with green in your cabinets.

Whether you decide to go bold with Kelly green or subtle with a sage hue, colorful cabinets are one of the latest kitchen trends. Green cabinets create a harmonious look since the shade matches nicely with the browns, greys and taupes in today’s hardwood or vinyl plank flooring and neutral-toned walls and countertops.

You can achieve different effects with green cabinets by changing up the hardware. For example, if your cabinets are dark green, brass or wooden drawer pulls lend warmth. Lighter shades like grey-green or lime look fresh with silver-toned, black or white hardware.

And remember: adding just a few green cabinets while leaving the rest neutral is a more subdued, two-toned approach that will still give the room a pop of color and character.

2. Install a green island.

Speaking of pops of color, your kitchen island is a great place to add green. While your countertops should be mostly neutral-toned so as not to overpower the room, your island cabinets can reflect your personal sense of style and fun. Why not do that by installing an island in your favorite shade of green, whether it’s pale cool green, forest, or something in between?

If an entire green island is bolder than you’d like, you can always just accent the ends or even just the drawer facings. Pair it with granite countertops that have green veins and colorings to emphasize the color without overdoing it.

3. Consider a green accent wall or alcove.

A wall or corner of the room is one of the best places in your kitchen to introduce green. This use of color lends dimension and interest to a room without overwhelming it – and it is also very much in vogue in today’s kitchen designs.

A bright fern or jungle green accent wall or alcove will really stand out against white or cream walls and cabinets, whereas paler shades such as artichoke or honeydew are more relaxing. Choose a shade that complements the colors of other elements in the room, such as seating, lighting fixtures, bowls or artwork.

If an accent wall or alcove isn’t feasible, consider adding green in your backsplash or trim for another way to incorporate this color into your kitchen.

4. Think living things.

Before committing to any of the above suggestions, you can “audition” green in your kitchen by adding plants.

A large potted ficus, herb garden, or hanging plant is a nice way to bring the outdoors in and incorporate some of nature’s green into your kitchen design.

Be sure the places you add greenery allow the appropriate amount of sunlight to reach the plants, and keep up with food and watering to ensure they remain healthy.

Don’t have a green thumb? Silk plants can look just as beautiful in your kitchen without any upkeep.

Green is a gorgeous color to integrate into your kitchen remodel. By playing with green cabinets, installing a green island, adding a green accent wall or alcove, and including some plant life, you can incorporate green into a kitchen design you’ll love for many years.

4 Tips for Matching Your Flooring, Countertop and Cabinet Choices

4 Tips for Matching Your Flooring, Countertop and Cabinet Choices 2560 1441 Chris & Dick's | an ILG Company

Choosing finishes that match can be one of the most satisfying and yet frustrating parts of a kitchen or bathroom renovation project.

There is a multitude of materials, colors and styles of flooring, countertops and cabinets available to today’s homeowners. And while it’s wonderful to have so many options, how do you know what will ultimately look great together in your home?

First, take a deep breath. Then, realize that selecting coordinated finishes to achieve your ideal home design doesn’t have to be a stressful experience. Our seasoned team of design professionals has been helping homeowners make finish decisions on their remodeling projects for many years. Below are a few of their tips for taking the stress out of this process and ending up with results you’ll love.

1. Begin by choosing your countertops.

Your project will go much more smoothly if you start by selecting your counters first. Why? There are many more color and pattern variables in countertops than in flooring or cabinetry, so choosing this element first will be much less limiting later.

The top three countertop materials – quartz, granite and marble – each have unique hues and striations that are beautiful but can be difficult to match exactly with a fixed cabinet or flooring choice. Also, your countertop is typically front and center and therefore the most visible element when people enter the room – it makes sense to choose this element first since it will get a lot of attention.

Take it from the experts: you’ll have an easier time matching your cabinets and flooring to your countertops than vice versa.

2. Select a simple color scheme.

Color is your friend, but too many different colors in a room design can appear chaotic rather than coordinated.

For a more put-together look, choose two main shades that complement each other and one accent for a pop of color. For example, combining white cabinets and flooring with a black countertop is both classic and modern. Add a shot of red in the form of a backsplash, seating or light fixtures and you’ve created a coordinated design that still looks distinctive.

You also can’t go wrong if you stick with neutrals, which are perennially popular. Grey has become the newest, freshest color for home décor, and it mixes well with other neutral tones. Think pale grey cabinets with a white countertop and walnut-toned hardwood or vinyl plank flooring. Brighter accents like fuchsia, blue and sunny yellow look fabulous with grey as well.

Whichever colors you choose, make sure you like them well enough to live with them for several years – because you will.

3. Consider texture.

Texture in home design comes from the materials used within a room and can help you match the components of a kitchen or bathroom when renovating.

For example, sticking with wood or wood-like materials in cabinets, countertops and flooring works thematically by carrying similar textures throughout the room. Adding metal drawer or cabinet pulls that mimic metal appliances or accents is another way to achieve a cohesive look.

Texture also contributes depth and richness to a home design without having to rely too much on color. In fact, varying texture while staying within the same color scheme is a great way to match the elements of your remodel while adding visual interest to the room. For instance, grey wooden cabinets, a charcoal marble countertop, and stone-colored plank flooring play within one color family but still offer the eye some contrast. Add a pop of color in your accent pieces and you have an appealing, fresh room design.

4. Look for what “goes” instead of what matches exactly.

 Just as you avoid “matchy-matchy” clothing ensembles, you should avoid room designs that are overly color coordinated. Some of the magic and character of a room comes from contrast – items that are complementary rather than identical in appearance.

That means opting for a bold cabinet choice and pairing it with neutral flooring and countertop colors or matching cabinet and flooring colors and letting your countertop stand out as your secondary shade.

No matter which colors you choose, they should enhance rather than fight with each other. Too much contrast is confusing to the eye, and too little contrast can be just a tad monotonous. Strike a comfortable balance for a look that’s interesting and inviting.

While selecting countertops, cabinets and flooring that match in a kitchen or bathroom remodel can seem daunting, it doesn’t have to be. By starting out with your countertop choice, opting for a simple color scheme, considering texture, and looking for what “goes” instead of what matches exactly, you can streamline your selection process and achieve a room remodel you’ll love for years.

4 Ways to Set Up Your Home Renovation Projects for Success

4 Ways to Set Up Your Home Renovation Projects for Success 2560 1894 Chris & Dick's | an ILG Company

While everyone begins a home renovation project with the best of intentions, success isn’t always guaranteed. With all that is entailed in completing these projects, you can easily find yourself going overbudget, extending timelines, or worst of all – unhappy with the results.

Clearly, you need a thoughtful approach so that the work goes smoothly, your budget stays intact, and you achieve fabulous results. So, how do you ensure your home renovation projects cross the finish line successfully?

At Chris & Dick’s, our design professionals have been advising clients on their home design projects for more than 60 years and have helped bring thousands of remodeling dreams to fruition. Given our deep expertise in this area, we recommend the following strategies for setting up your home renovation projects for success.

1. Create a plan.

While it’s tempting to dive right in and start buying materials for your renovation, a smarter approach is to sit down and think about your home design goals and plan out how you’re going to achieve them.

A strong home remodeling plan includes a clear idea of your budget, an outline of the work involved, drawings or renderings of your completed project, the materials you’ll need, and a schedule of what will be done when. (Tip: You can get lots of design inspo for your project online from sites like Pinterest, as well as design magazines and HGTV shows.)

Creating a plan – even if you need to adjust it along the way – is the best way to start your project off on the right foot so you can achieve the results you’re seeking.

2. Account for all costs.

Even the best-planned home renovations can get derailed if you’re faced with unexpected costs.

Help costs remain in check by keeping your plumbing pipes, electrical outlets, appliances, water fixtures, and walls in the same location as before the remodel, which will save you money on demolition and reconstruction and reduce the amount of dust and debris created. Also avoid knocking down walls as this can generate issues that are expensive to fix.

In addition, before beginning any remodeling project, have your vendors provide you with written costs for labor and materials, including what might impact those costs.

For example, quartz, granite, and marble are all popular choices for countertops today, but the cost of each of these materials varies, so it’s important to know how they vary and what you’re getting for your money. In addition, where and how materials are sourced and their availability can impact costs as well.

Also, unexpected delays during construction can extend timelines and drive up labor costs. Knowing in advance how your contractor or construction team bills for labor can prevent unpleasant surprises along the way.

3. Be conscious of quality.

Saving a few dollars on cheaper goods usually ends up costing you more in the end and isn’t worth the headaches.

Your renovation should last you a long time. Buying quality goods in brands with solid reputations and good consumer reviews will give you peace of mind and set you up for many years of enjoyment without the hassle of products that break or wear out before their expected lifetime is up.

Take the time to research the materials you plan to purchase for your project and make sure they meet your quality standards. A reputable design professional can also steer you in the right direction when it comes to a cost/benefits analysis.

Masterbrand Floating bathroom Cabinet, ©Karen Melvin Photography

4. Work with an experienced design professional.

Although hiring a handyman to complete your project might sound like a great way to save money, you could be putting the quality of your project at risk. Instead, hire a design expert who has a portfolio of home renovation projects under their belt, can show you samples of their work and can help guide you through the process.

Look for a design professional who is noted for having an open communication style so you can make informed decisions and keep tabs on the project as it progresses. For example, at Chris & Dick’s, our seasoned design professionals will work with you from start to finish to choose the perfect cabinets and countertops for your kitchen or bathroom remodel. You can visit our 10,000 square-foot showroom to learn about the latest design trends and consult with a designer about what will work in your home and with your budget and timeline. An installer will then visit your home to get accurate measurements of the space, and we’ll provide 3D renderings of your completed projects and consult with you every step of the way to ensure you’re thrilled with the results.

While you might save a little money by using a handyman for your home renovation projects, it could end up costing you more in the end if work has to be redone.

While no home renovation project is guaranteed to go exactly as expected, you can utilize some time-tested strategies to help you reach your goals. By creating a plan, working with an experienced design professional, accounting for all costs, and spending money on quality materials, you can set up your projects for success and achieve a remodel that you’ll be happy with for many years to come.

Color Tips for Your Kitchen or Bathroom Remodel

Color Tips for Your Kitchen or Bathroom Remodel 1080 608 Chris & Dick's | an ILG Company

One of the first things everyone notices about a kitchen or bathroom remodel is the color palette. In fact, a simple color change can alter the entire look of a room.

Color heavily influences our perceptions about a space and can even affect our mood, so it’s important when completing a kitchen or bathroom remodel to choose colors that best enhance the room and have the impact you intend.

But how can you be sure you’re making the right color decisions?

Since Chris & Dick’s has been around for more than 60 years and has seen home color trends come and go, our team of design professionals knows a lot about helping people choose colors for a home renovation. Here they offer tips for picking the right colors for your kitchen or bathroom remodel.

1. Don’t be afraid to go bold with your cabinets…

It may sound counterintuitive to place assertive tones in two of the most-used rooms of the home, but bold-hued cabinets can work really well in kitchens and bathrooms.

Cabinets in dark or saturated shades serve as pops of color that truly liven up a neutral-toned room and give it extra character. Be bold – your kitchen or bathroom may be the perfect place for navy blue or forest green cabinets or, you can even mix and match by going the two-toned route.

If you prefer a more conservative look with white or neutral cabinets, you can always use more robust tones in other elements of the room. Black cabinets in a white or cream room also make a dramatic statement, but be aware that you will need to be more diligent about keeping dust in check.

2. …but not necessarily with your countertops.

When choosing a countertop color, our designers say it’s best to opt for neutral shades because they’re much more versatile than bright hues. After all, you’ll likely be living with your countertop color choices for many years – let’s be real, how long will your love for a purple hued counter last? If you want to change up your room’s color palette some time down the road, a neutral-hued countertop won’t limit your options.

Neutral shades range from the brightest white to black – and all of these tones can serve as the perfect backdrop to your cabinet and wall color choices. Black or dark grey countertops contrast beautifully with almost any color in the rainbow and are very much in vogue these days.

Quartz, granite, and marble are the most popular materials for countertops today, and they are generally all neutral in color. Many of these materials feature interesting markings and striations that lend additional color making them even more unique.

3. Let the walls be your canvas.

Believe it or not, kitchen and bathroom walls can be just about any color you want them to be if paired appropriately with your cabinets, countertops, and other colors in the room.

Light-toned neutral walls are perfect for showing off beautiful cabinetry, where you can get more creative with pops of color as mentioned above. They also let well-chosen countertops, appliances, and lighting fixtures shine without competing against a gorgeous backsplash.

On the other hand, brightly colored painted or wallpapered walls can be a fun and refreshing addition to your home if your cabinets are a neutral shade. Keep in mind that most kitchen and bathroom walls are broken up by appliances, windows, furnishings, and accent pieces, so you are not likely to have a big empty wall with a color that’s too vivid, which could be jarring. Instead, these colors serve as borders and complements to the other elements of the room.

Also remember that a space painted in a lighter color will look and feel larger than the same space in a more saturated tone, while you can make a spacious room feel cozier by choosing a stronger shade of paint or wallpaper. Additionally, the amount of light in the room – both natural and artificial – will impact how big or small the room feels.

4. Pay attention to the experts … and yourself.

Experienced home design professionals can be extremely helpful when making color choices for a kitchen or bathroom remodel and helping you discover your own tastes and preferences.

Chris & Dick’s seasoned design team is deeply experienced in giving color advice, so you’ll get an unbiased opinion and some expert guidance to help you pick the perfect colors for your remodel. They also understand that you are the ultimate decisionmaker in your home design choices, and they will encourage you to choose colors you love.

Do you adore red, have a passion for midnight blue, or swoon over sunflower yellow? Allow that passion to inform your color choices, and let your own sense of style lead the way.

While choosing colors for a kitchen or bathroom remodel can seem daunting, there are ways to make the process more fun and less intimidating. By daring to go bold with cabinets, keeping countertops neutral, letting the walls be your canvas, and seeking some expert guidance while letting your own style shine through, you can choose colors that you will love long after your renovation project is complete.

Tips for Achieving Your Perfect Kitchen Style

Tips for Achieving Your Perfect Kitchen Style 2560 1566 Chris & Dick's | an ILG Company

It’s time for a remodel of one of the most important rooms in your home: the kitchen. If you’ve been poring over decorating magazines, Pinterest boards, and design websites, you may be more confused than ever about how to create your ideal look. Given the wealth of options, how do you achieve the kitchen style that’s perfect for you?

Fortunately, Chris and Dick’s knows how to help people wade through the options and attain their ideal kitchen style. As a resource for guiding homeowners toward reaching their renovation goals for more than 60 years, we are highly experienced in dialing down the stress of making these important decisions and assisting customers in achieving the home design of their dreams.

While the list of possible kitchen styles is long, here are a few of the most popular styles today and our recommendations for how to bring them to life in your home.

1. Classic—The enduring quality of a classic look is one of the reasons why this kitchen design is so popular. Classic kitchens are always in style because they are clean and simple, and part of their attractiveness is that classic main elements – cabinets, countertops, and appliances – can be combined with non-classic components like furniture, accessories, and lighting to create a customized look.

For a classic kitchen design, choose white or cream cabinets; white or black countertops in quartz, granite, or marble; and light-toned wall colors. Architectural details should be simple and understated, and black or bright accents lend contrast. Add in a few of your own special touches and meaningful pieces to achieve a classic kitchen style that has your own personal stamp on it.

2. Rustic—While this delightfully imperfect genre has been around for a while, its appeal is still fresh. In fact, the rustic style is equally as popular as a classic kitchen is today. Many homeowners are drawn to rustic designs for the richness and implied history they impart as well as their forgiving nature, as scratches and flaws are inherent in this style.

Since distressed materials are a hallmark of the rustic look, choosing reclaimed wood for your countertops will fit right in with your theme, be better for the environment, and is generally more affordable. As for your cabinets, lighter colors such as off-white, light grey or light blue, combined with the wooden countertops creates a vibrant, rustic feel.

You might also consider brick and timber components to add texture and visual interest to the room, and vintage appliances and fireplaces make for great conversation pieces in a rustic kitchen as well.

3. Farmhouse—The farmhouse look has gained traction in our high-tech society as people enjoy being reminded of simpler times. This warm style is comforting and inviting and works great in today’s kitchens.

To achieve the farmhouse style in your kitchen, choose wide and deep sinks with quartz, marble, or granite countertops, paired with a degree of open shelving for displaying decorative kitchenware.

While wooden countertops also align well with this style, opting for a quartz, granite, or marble option will give you durability and aesthetic appeal. Save the wood for your cabinets, flooring, or a nice big kitchen table that is workable, beautiful, and can accommodate guests or a large family easily.

Although primary colors tend to work well in farmhouse-style kitchens, softer shades like cream, white, and pale yellow can really open up and enlarge the room.

4. Industrial—A little bit modern and a little bit retro, an industrial-style kitchen has an almost masculine look and feel while offering affordability and versatility.

To pull off an industrial look in your kitchen, choose quartz, granite, or marble countertops in cool colors, combined with dark grey, white, or brown cabinets. Although a small detail, the handles on your cabinets can really make a difference in creating the industrial look. Sleek cabinet options work well, however one should opt for decorative handles in a copper or cast-iron finish for a true industrial appearance.

Brick walls and exposed-steel surfaces can further enhance the look of an industrial kitchen. Pops of color, such as red, also work well to brighten up the design and add an edgy feel.

Achieving your perfect kitchen style can be a fun adventure if you follow some basic rules and then let your intuition guide you. The help of an experienced kitchen-design professional can help save you time and money, as well. Whether you choose a design that’s classic, rustic, farmhouse, industrial (or other popular looks like coastal, cottage, contemporary, traditional, or modern), infuse the space with your own unique flair, and you’ll achieve a kitchen remodel that reflects your singular style.

From Quartz to Granite to Marble: How to Clean Your Countertops

From Quartz to Granite to Marble: How to Clean Your Countertops 2560 2092 Chris & Dick's | an ILG Company

As you may know, quartz, granite, and marble are the three most popular materials for today’s countertops and add an expensive touch to kitchens and bathrooms. Regardless of which stone you choose, knowing how to clean your countertops is critical to keeping them looking like new.

The design specialists at Chris and Dick’s have been helping customers choose the perfect materials to achieve their home-design goals for more than 60 years. As seasoned professionals, they are well versed in the right way to clean your countertops so that no matter which material you choose, you can easily keep your counters spotless and maintain their beauty and functionality far into the future.

Our design team offers the following advice for cleaning quartz, granite, and marble countertops.

Cleaning a quartz countertop

Quartz is the most popular material for countertops today due to its durability and resilience.

Although it looks like natural stone, quartz used in countertops is actually a manmade material formed by combining randomly sized quartz crystals with resins and colored pigment to form a slab. Quartz countertops are 93% quartz and 7% resin and should not be confused with natural quartzite, which requires sealing as often as twice a year. In fact, one of the perks of owning a quartz countertop is that it doesn’t require any sealing to be stain resistant. Because quartz contains resin binders, these countertops are not porous; therefore, they resist mold, mildew, and bacteria quite effectively.

In order to keep quartz countertops clean, use a glass cleaner or non-abrasive household cleaner, and wipe up spills with dish soap and a soft cloth (microfiber is recommended). Remove stains using a glass or surface cleaner and a non-abrasive sponge. For spills that have dried or heavier stains that don’t clean easily with this method, use a plastic putty knife to carefully scrape away the mess.

If your quartz countertop gets greasy from cooking, products such as Krud Kutter and Easy-Off are helpful, and even permanent marker can be erased using a product like Goo Gone on a damp soft cloth.

Avoid anything harsh on quartz, from cleansers that can scratch to extreme heat, to prepping food without a cutting board. Also avoid installing quartz in an outdoor kitchen as its colors can fade from sunlight, which can eventually cause the material to split or warp.

Cleaning a granite countertop

Granite slabs come in such a wide variety of colors and formations that granite is one of the most desirable materials for stone countertops. Each slab is truly one of a kind.

While granite countertops benefit from being constructed of the hardest stone found in nature next to the diamond, cleaning them still requires a tender touch. The good news is that granite is naturally anti-bacterial, and with the proper sealant, is an easy-to-care-for finish.

Although it may be tempting to choose an abrasive scrub that will easily lift stains and spilled food off your granite countertops, a gentle cleanser is a must. Harsh, abrasive scrubs can damage and alter the stone.

Instead, mix a teaspoon of dishwashing liquid with four cups of water in a spray bottle and apply after food preparation with a soft, non-abrasive sponge or microfiber cloth. From there, allow it to air dry. Water stains can be cleaned by mixing baking soda with a bit of hydrogen peroxide, while oil-based stains can be cleaned with a mixture of baking soda and water.

For tougher stains on granite, combine baking soda and hydrogen peroxide in a bowl to create a thick paste, then spread the paste liberally over the stain and cover with plastic wrap, taping the edges down. Let the cleanser set overnight or even for as long as two days, then rinse and wipe with a soft cloth.

While granite is usually protected by sealant when installed, it may need to be resealed after a while, especially if stains have become difficult to remove. For this job, it’s best to call in a professional, who will thoroughly clean the countertop and reseal it properly.

Avoid cleaning granite countertops with household acids such as vinegar, lemon, lime and citrus; ammonia or cleaners that contain ammonia like Windex; bleach; steel wool; and scrubber sponges. Any of these materials will dull granite’s shine and may even eat away at sealant, leaving it vulnerable to stains, mold, mildew, and bacteria.

Cleaning a marble countertop

The third most popular countertop material, marble is purely natural and offers unique beauty, durability, and a smooth, shiny surface. However, one of the main factors to consider with marble countertops is its delicacy.

If you own a marble countertop, be sure to avoid having it come in contact with acid in any form: food or cleanser. Non-abrasive cleansers are a must for this surface, which can be scratched and dulled easily from harsh substances. A non-scratch marble or stone cleaner works well, as does a mild, non-abrasive and non-acidic soap (gentle dish soap is fine) combined with water.

To clean your marble countertop, mix a little dish soap with warm water in a spray bottle and spray liberally, then scrub gently and wipe with a clean, soft, wet cloth. This process should be repeated until there is no more residual soap on your countertop. Then, dry by buffing with a soft-clean cloth.

Stains on marble are best dealt with immediately to avoid them setting in the stone. To remove food stains or rust marks left by metals, create a paste of baking soda and hydrogen peroxide, apply liberally and allow to dry before wiping away.

Additionally, mildew can be removed from marble with a solution of three parts household bleach, one part water and a squirt of dish soap combined in a spray bottle. Saturate the stain with the mixture and repeat until the stain is gone; then wipe with water and dry thoroughly.

Scratches and etchings on marble typically need a polishing powder, whereas ink, paint, water spots and rings, and metal stains on marble require poultices to clean.

A few tips for all three types of countertop materials:

  • Remember to clean up spills and stains immediately, especially acidic foods like wine, citrus juices, vinegar, and salad dressings, and foods with artificial and natural dyes like Kool-Aid and beets.
  • Avoid chopping or slicing directly on the surface and use trivets under hot items to prevent thermal shock, which may crack stone countertops.
  • Harsh chemicals like chlorine bleach or ammonia can etch these counters – even sealed ones.
  • Sealants don’t last forever as normal wear and tear removes the finish. Light-colored stone usually needs to be resealed every one to three years, while darker colors can go three to five years; refer to your manufacturer’s instructions for the right sealing schedule.

Whether you choose quartz, granite, or marble for your countertop, knowing exactly how to clean and maintain it and keeping the proper cleaning tools on hand are a must. With a few simple items, a little know-how, and possibly a bit of elbow grease, you can keep your countertops clean, shiny, and in beautiful condition for years to come.

How to Create a Spa-Inspired Bathroom

How to Create a Spa-Inspired Bathroom 1404 936 Chris & Dick's | an ILG Company

If the thought of having a spa bathroom in your home filled with pampering amenities appeals to you, you’re not alone.

Nowadays, with everyone spending so much time at home, we all need a place to relax, recharge, and luxuriate. And since we probably can’t spend a day at the spa right now, for many of us, that ideal place to retreat is our bathroom.

Fortunately, even if your bathroom is currently missing the trappings of a spa, creating the perfect spa bathroom doesn’t have to be difficult, time-consuming, or costly, regardless of your budget or bathroom size. Chris & Dick’s team of professional designers recommends the following tips for creating the perfect spa-inspired bathroom in your home.

1. Install a cabinet in a soothing color.

The color of your bathroom can really be mind altering. To create a more relaxing, spa-like atmosphere, consider adding cabinets in a soft rather than bright shade to calm your mood.

Soft blues and greens are very “in” right now, especially with Benjamin Moore’s Paint Color of the Year being Aegean Teal, a soft blue-green. This shade mimics the color of water, and being around water is known to have many calming effects and health benefits for humans.

Other soothing colors include neutrals, pastels, and even dark, rich hues like royal purple, forest green, or deep navy – which can serve to lower your heart rate to evoke the effects of visiting a spa.

2. Pair your cabinet with a light-colored countertop.

A light-toned countertop will make a pastel or rich cabinet color pop and give your bathroom a clean, fresh look reminiscent of a spa.

When considering countertop colors, remember that white goes with everything, and pale gray is another shade that is very “in” for countertops these days.

Choose quartz, granite or marble – the top three countertop materials – to achieve just the right ambiance for pampering. You may even wish to match one of the striation colors in the countertop stone to your cabinet color to carry the hue through the room.

3. Add some shelving to hold spa-like accoutrements.

Shelves are a great way to add nuance to your spa bathroom. Floating shelves are trending in a big way now, and they’re ideal for holding a scented candle, small flower vase, and even a speaker that plays calming and soothing music.

Install shelving on a wall near the tub or sink so you can access these spa-like items while you’re waiting for a mask or scrub to do its thing, soaking in the bath, or even just brushing your teeth.

Placing on the shelf a framed photo that makes you happy may inspire positive emotions, which puts you in the right mood for your spa-like experience.

4. Lower the lighting.

Just like scent and color, lighting can define a room.

Spa lighting is soft and gentle, never harsh or glaring. Use lower-wattage bulbs, and experiment to find the right brightness level and hue to complement your spa-inspired bathroom.

Remember, too, that you can always light candles instead of turning on overhead or lamp lights when you want to create a spa ambiance. Stock up on unscented beeswax candles for when you don’t want to add scent but are going for a spa-like and stress-free environment.

5. Go green.

Natural, sustainable products can enhance a spa-inspired bathroom atmosphere.

Ecologically friendly items, from organic cotton towels to reclaimed wood floors to all-natural cleaning products (for you and your bathroom) that are free of harsh chemicals are all part of going green in the bathroom.

Also, consider adding a plant or two to bump up the green quotient even higher and provide more visual interest and a greater spa-like feeling to the room.

Creating a spa-inspired bathroom doesn’t have to break the bank or involve a demo crew. By installing a cabinet in a soothing color, choosing a light-toned countertop, adding shelving for spa-like accoutrements, softening the lighting, and incorporating “green” elements, you can achieve a spa-inspired bathroom you can enjoy every day.

Money-Saving Tricks for Completing Your Kitchen or Bathroom Remodel

Money-Saving Tricks for Completing Your Kitchen or Bathroom Remodel 867 538 Chris & Dick's | an ILG Company

It’s a common dilemma: You want (or maybe need) a kitchen or bathroom remodel, but you’re on a limited budget. How can you achieve a fabulous new look without breaking the bank?

While it’s easy to blow all your money on state-of-the-art appliances or other pricey elements, there are less costly ways to complete a kitchen or bathroom remodel while attaining the results you want. It’s a matter of knowing where to spend and where to save so that in the end, you remain within your budget and are thrilled with your redesign.

For years, Chris & Dick’s has been helping people remodel their living spaces in a way that is both cost conscious and inspired. Our seasoned team of professional designers know how to steer customers in the right direction to create rooms they love without overspending. Here are some tips we’ve learned for saving money while redesigning a kitchen or bathroom.

1. Use color wisely.

Nothing punches up the look of a room more dramatically than a color change.

Color can be switched up easily and economically with a coat of paint or even wallpaper, which is back in style. Try a dramatic paint shade like bright yellow, navy blue or even bold red combined with patterned wallpaper for opulent flair.

In addition to a complete paint or wallpaper redo, remember that pops of color add great eye appeal and can do a lot to shift the ambiance of a kitchen or bathroom for a small investment. Soft greens or blues are very “in” in this year, so molding or an accent wall in these shades looks modern and fresh. Place a vase, decorative bowl or photo frame in these colors in a visible spot for more quick, inexpensive ways to update a kitchen or bath.

2. Focus on the finish.

In the end, what makes an impact is the finish of your décor.

Rather than going overbudget on designer appliances, buy good-quality, reasonably priced equipment that provides exactly the features you need and will use (do your research), and add luxe finishes like the inherently intriguing natural striations of a quartz countertop or the compellingly dramatic exterior of dark wood cabinets.

These materials will have a significant impact on your room’s overall look, and you’ll have invested wisely in appliances that will ideally last you until it’s time for your next big remodel.

3. Add texture.

Incorporating a variety of textures into your kitchen or bathroom décor will add visual appeal and create an appearance of richness without the need for a major spend. You’ll also be able to create a unique look that expresses your personal style.

When choosing specific textures, opt for less-expensive materials that still deliver big impact, such as quartz or granite instead of marble for your countertops, linoleum tiles instead of stone for flooring, or reclaimed wood instead of new wood for cabinets or trim.

As you mix textures, you can add in small amounts of pricier elements, such as a silk throw, marble soap dispenser, or copper drawer pulls, for an effect of opulence that’s still affordable. Play with different textures to achieve your perfect design, your way.

4. Apply sustainability principles.

Going green, which is good for the environment and saves money, now refers to an increasingly broader spectrum of residential living. Beyond energy-saving appliances and utility systems, environmentally responsible materials are being introduced into residential décor.

For example, while hardwood floors are all the rage, reclaimed hardwood is ecologically sound and can be acquired for a fraction of the cost of new hardwood. In fact, reclaimed hardwood flooring can cost up to 50% less than some types of traditional hardwood flooring.

Another sustainability principle is to use natural lighting to help with heating and cooling costs. Light-colored wall and window treatments let in more daylight to keep rooms warmer and brighter and reduce the use of heating and artificial lights during cold months, while darker colors cool off spaces and lower the need for air conditioning in the summer.

Think of what you spend the most money on in utilities and apply these energy-saving principles to your remodel to get the most bang for your buck.

Executing a kitchen or bathroom remodel can be a costly endeavor if you don’t know where to spend and where to save. By following the tricks and tips of using color wisely, focusing on the finish, adding texture, and applying sustainability principles to your renovation project, you can accomplish a redesign that is both budget friendly and beautiful.